3D printer repairing and modding
Contents
I’ve had my VORON Trident for 2 years and I’ve run it for 2600 hours. Overall I’m happy with the printer but I’ve been itching to make some more mods to it. Having finally finished the VORON 0 (with mods) I now have a backup printer I can use to rescue myself when I screw up.
As the printer was starting to crap out with a leadscrew starting to grind down again, the chamber thermistor stopped working, and PLA clogging up the Rapido hotend again it was time for a bit of a rebuild.
The plan
Besides fixing the printer I also wanted to prepare for a multi-color solution such as the Box Turtle and make some quality of life changes.
-
Replace the problematic leadscrew with a replacement part I received from LDO and replace the POM nuts on the other leadscrews.
-
Install the Inverted electronics mod.
I’ve been using the RockNRoll mod to give access to the electronics compartment by tilting the printer backwards. The Inverted electronics mod would instead allow me to lift the bottom plate to access the electronics compartment and I want to do it before installing a Box Turtle on top of the printer.
-
Replace the Stealthburner with the Jabberwocky toolhead.
This introduced a series of changes:
-
Move to an umbilical setup with the Nitehawk36 toolboard.
-
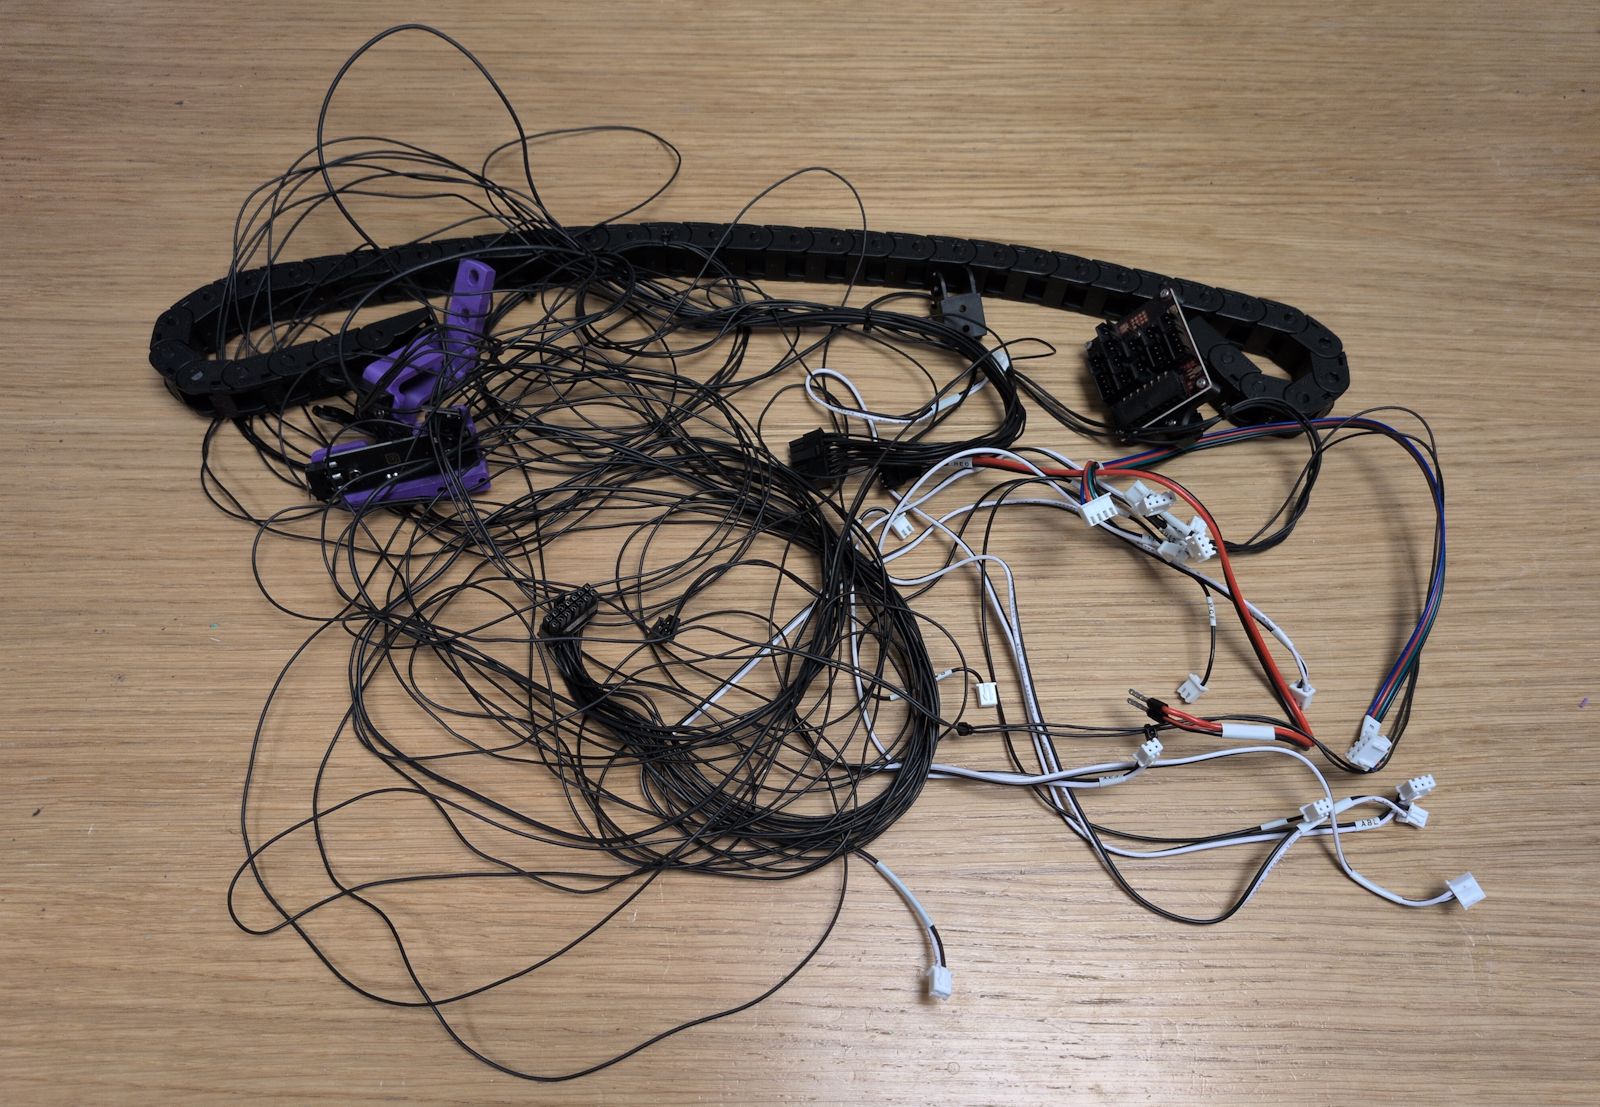
Use sensorless homing to get rid of the Y drag chain.
-
Replace TAP with the Beacon probe.
-
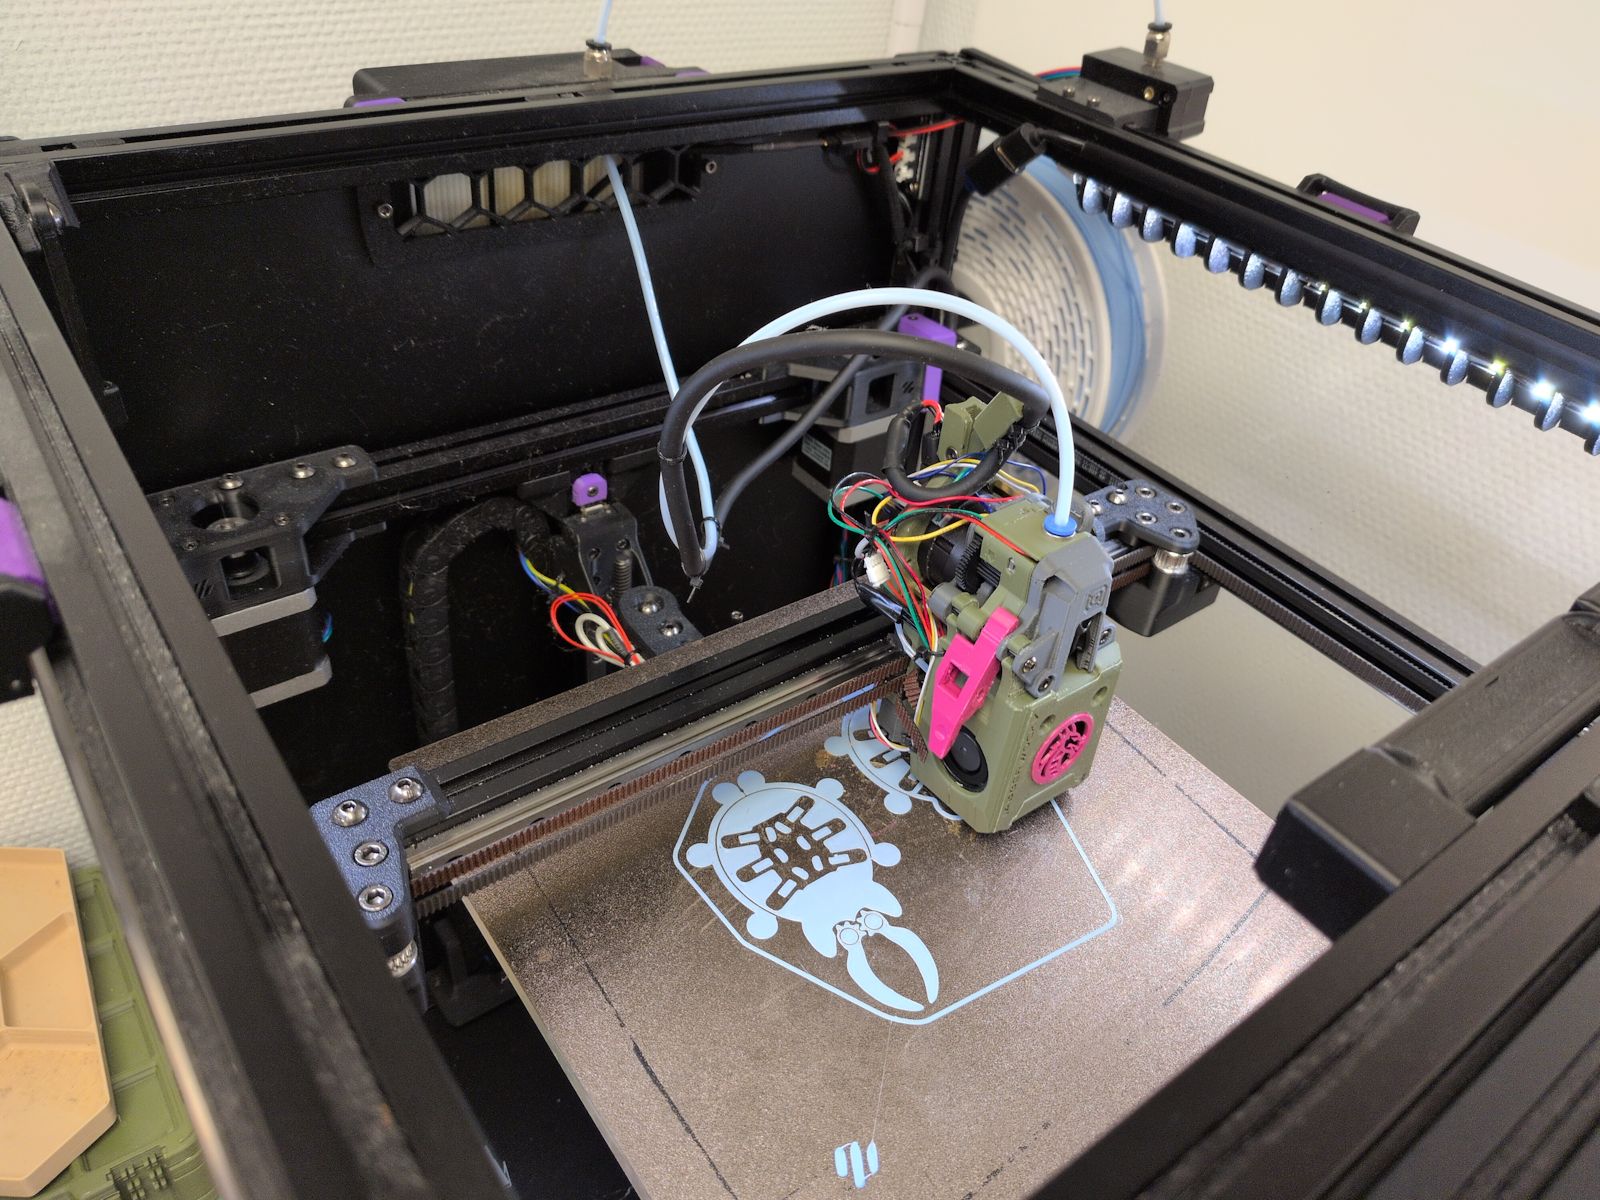
Finally, install the Jabberwocky.
-
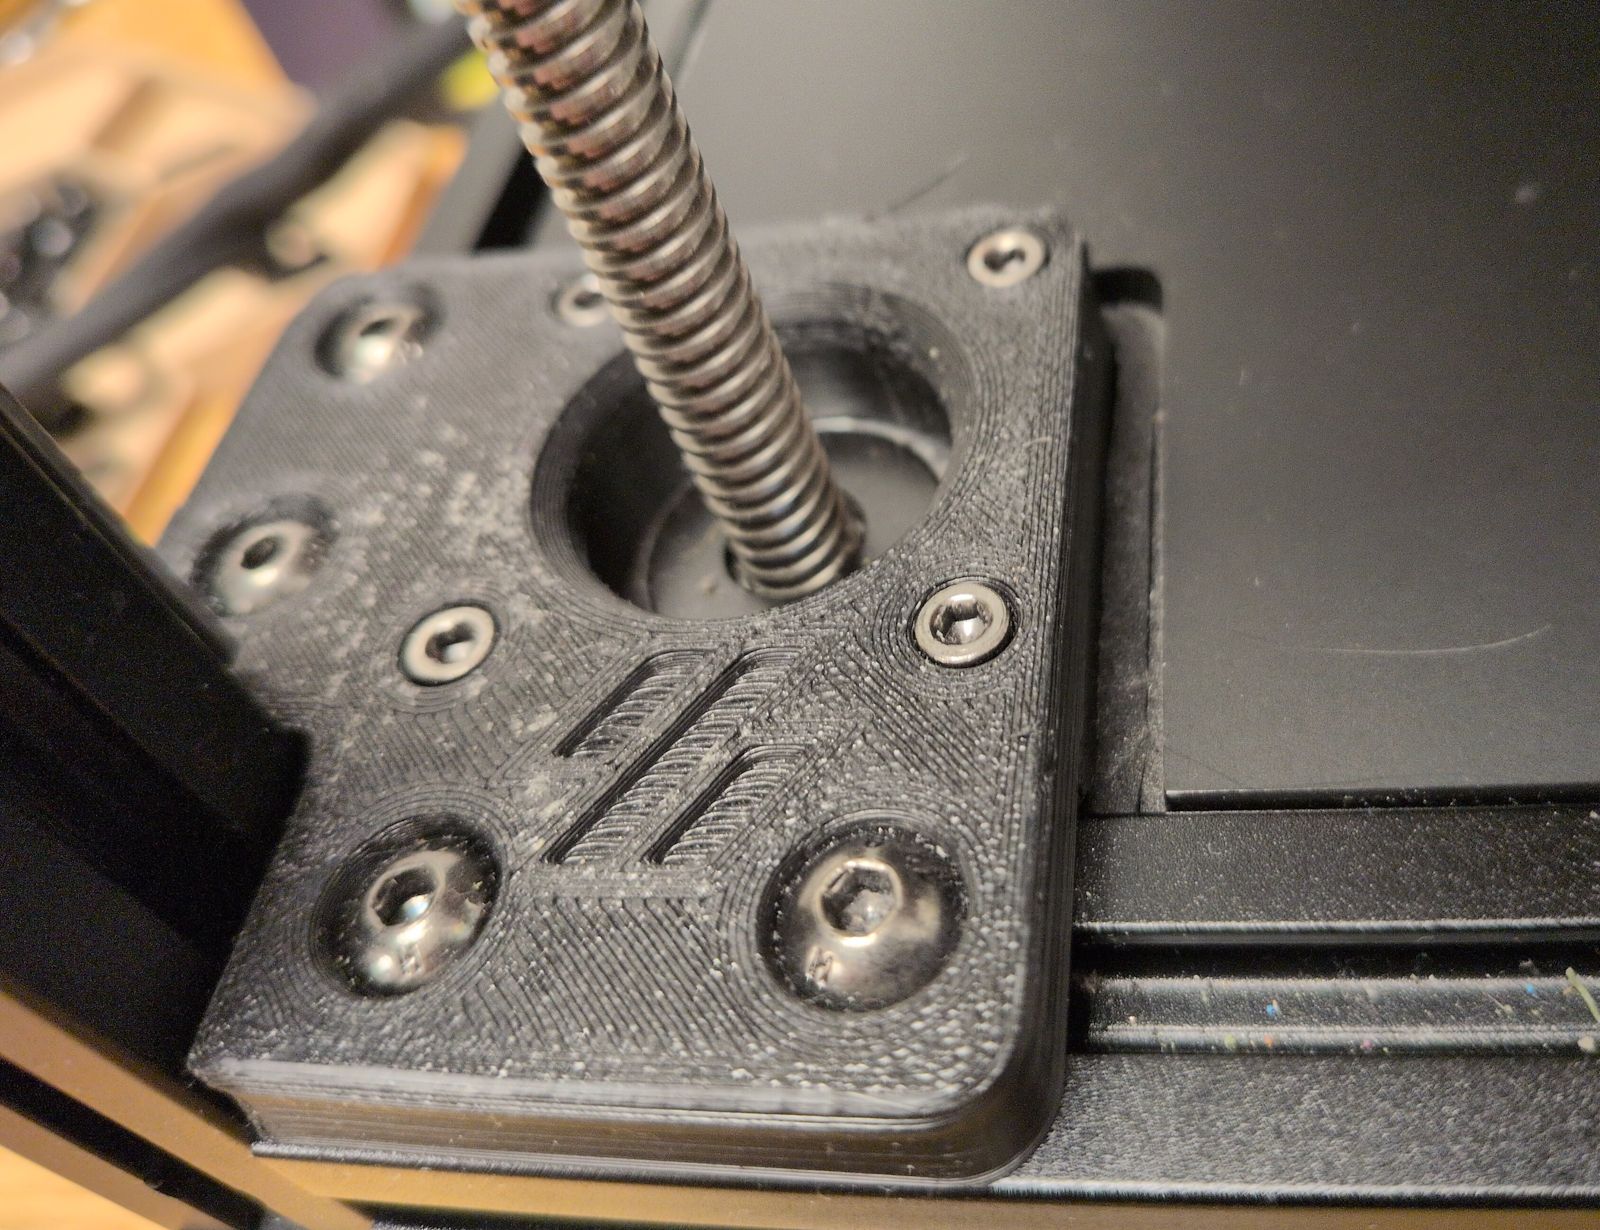
Replacing the POM nuts
I’ve had issues before where one of the POM nuts were ground down and I felt it was happening again. The printer didn’t completely fail like before but it was sometimes getting really bad first layers in that same corner and the Z probe was occasionally failing to configure Z tilt.
I replaced all three POM nuts together with the whole lead screw (I got a new one sent to me by LDO the first time it failed but I hadn’t installed it yet).
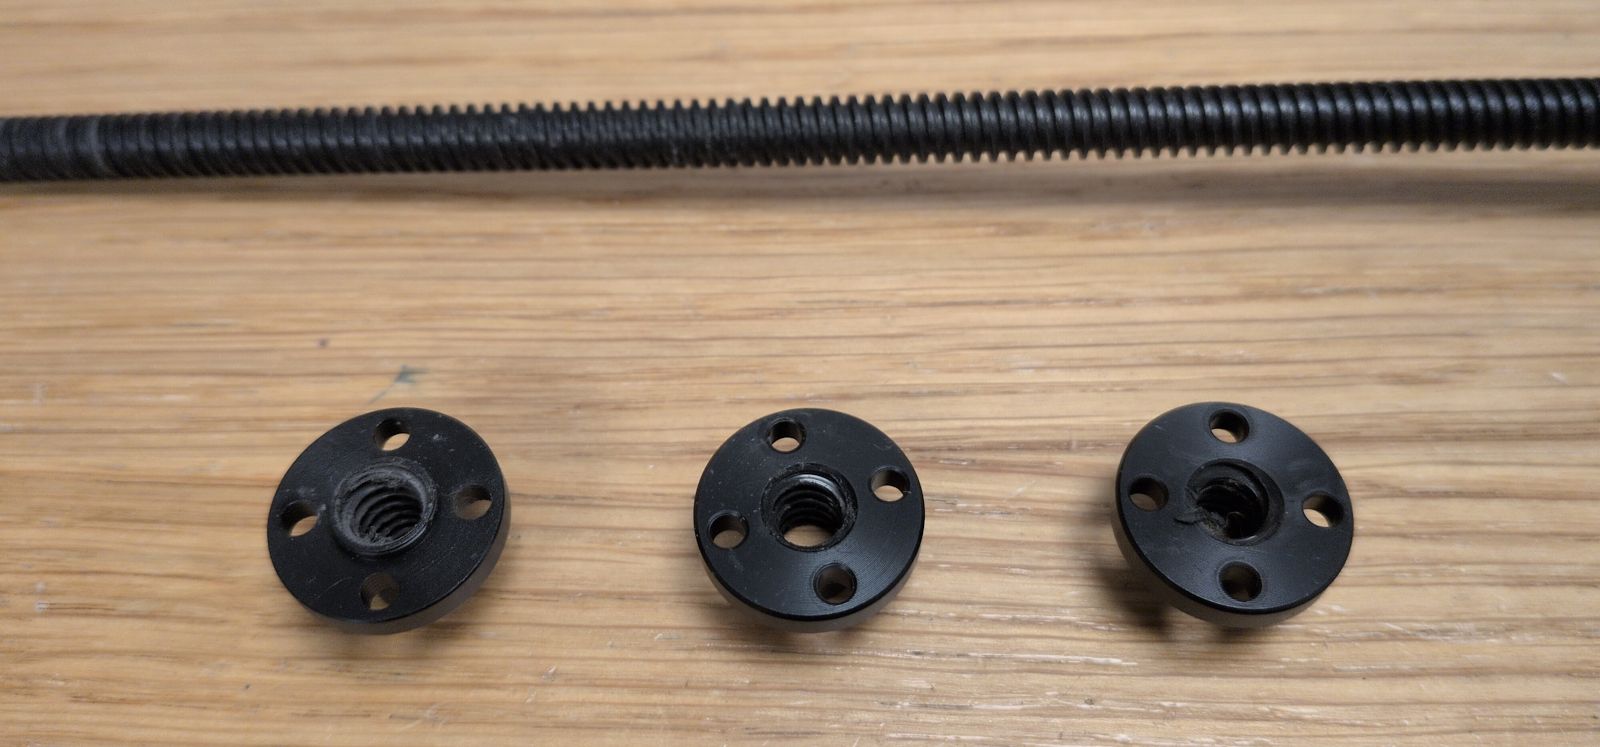
This is apparently a common problem with some LDO kits that have coated lead screws. I still have two of the old ones that I may have to replace in the future.
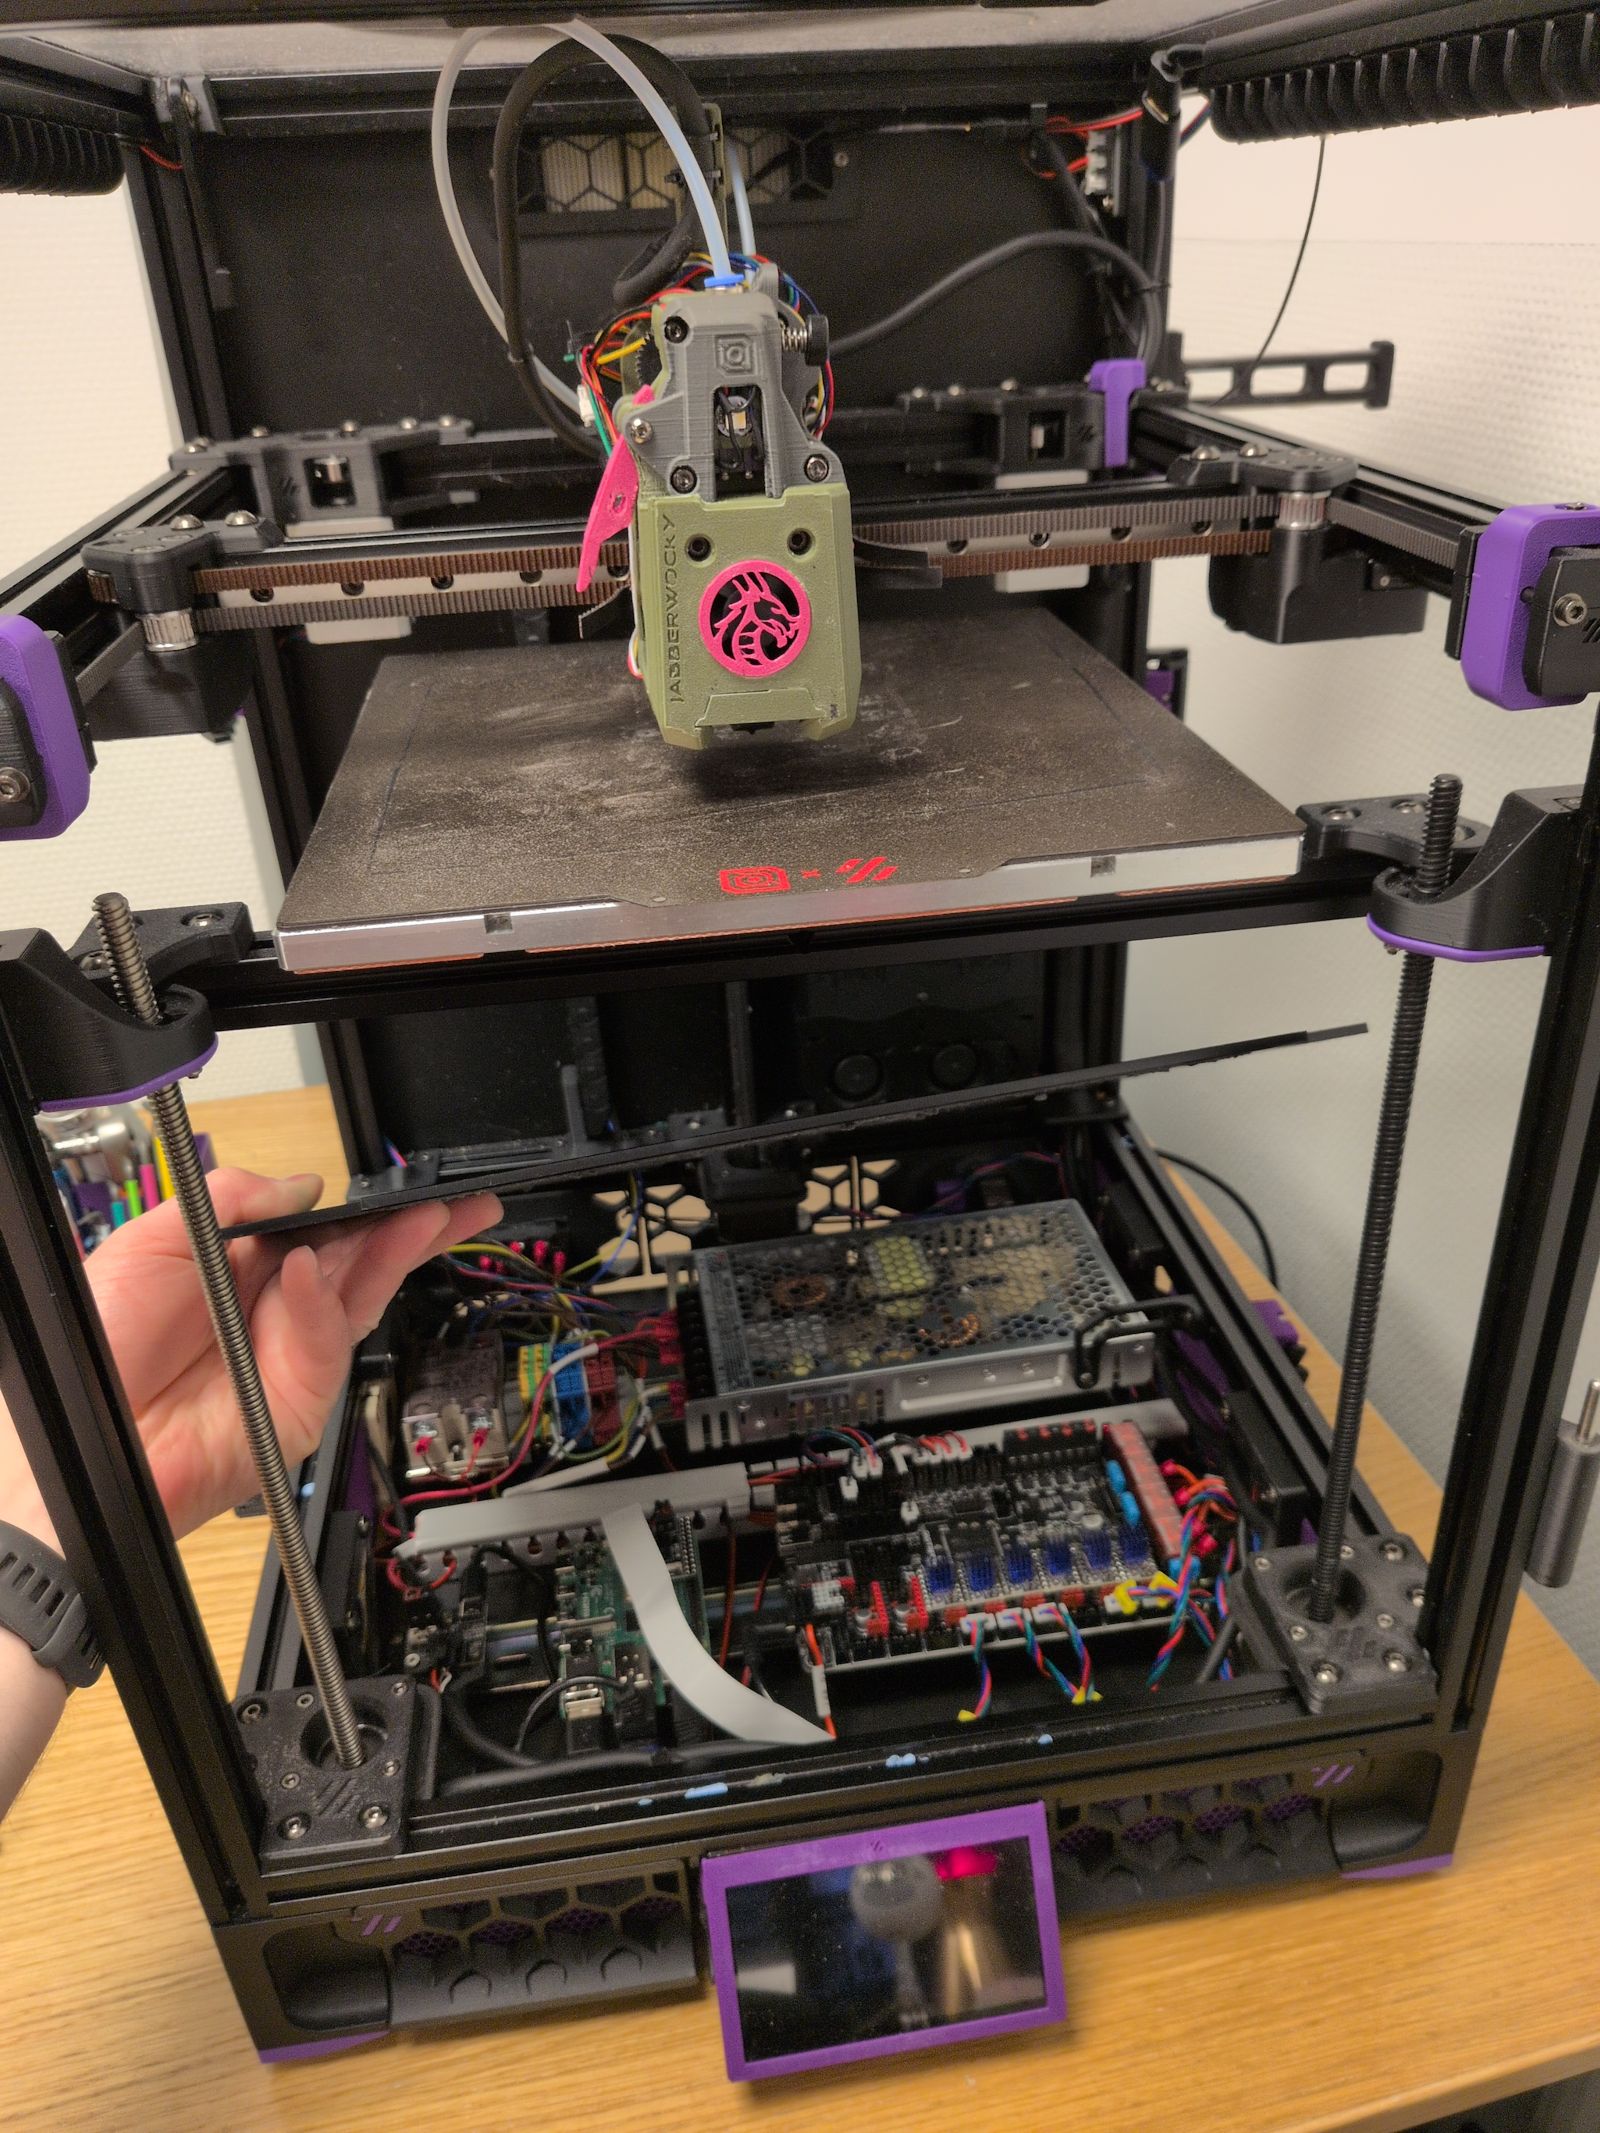
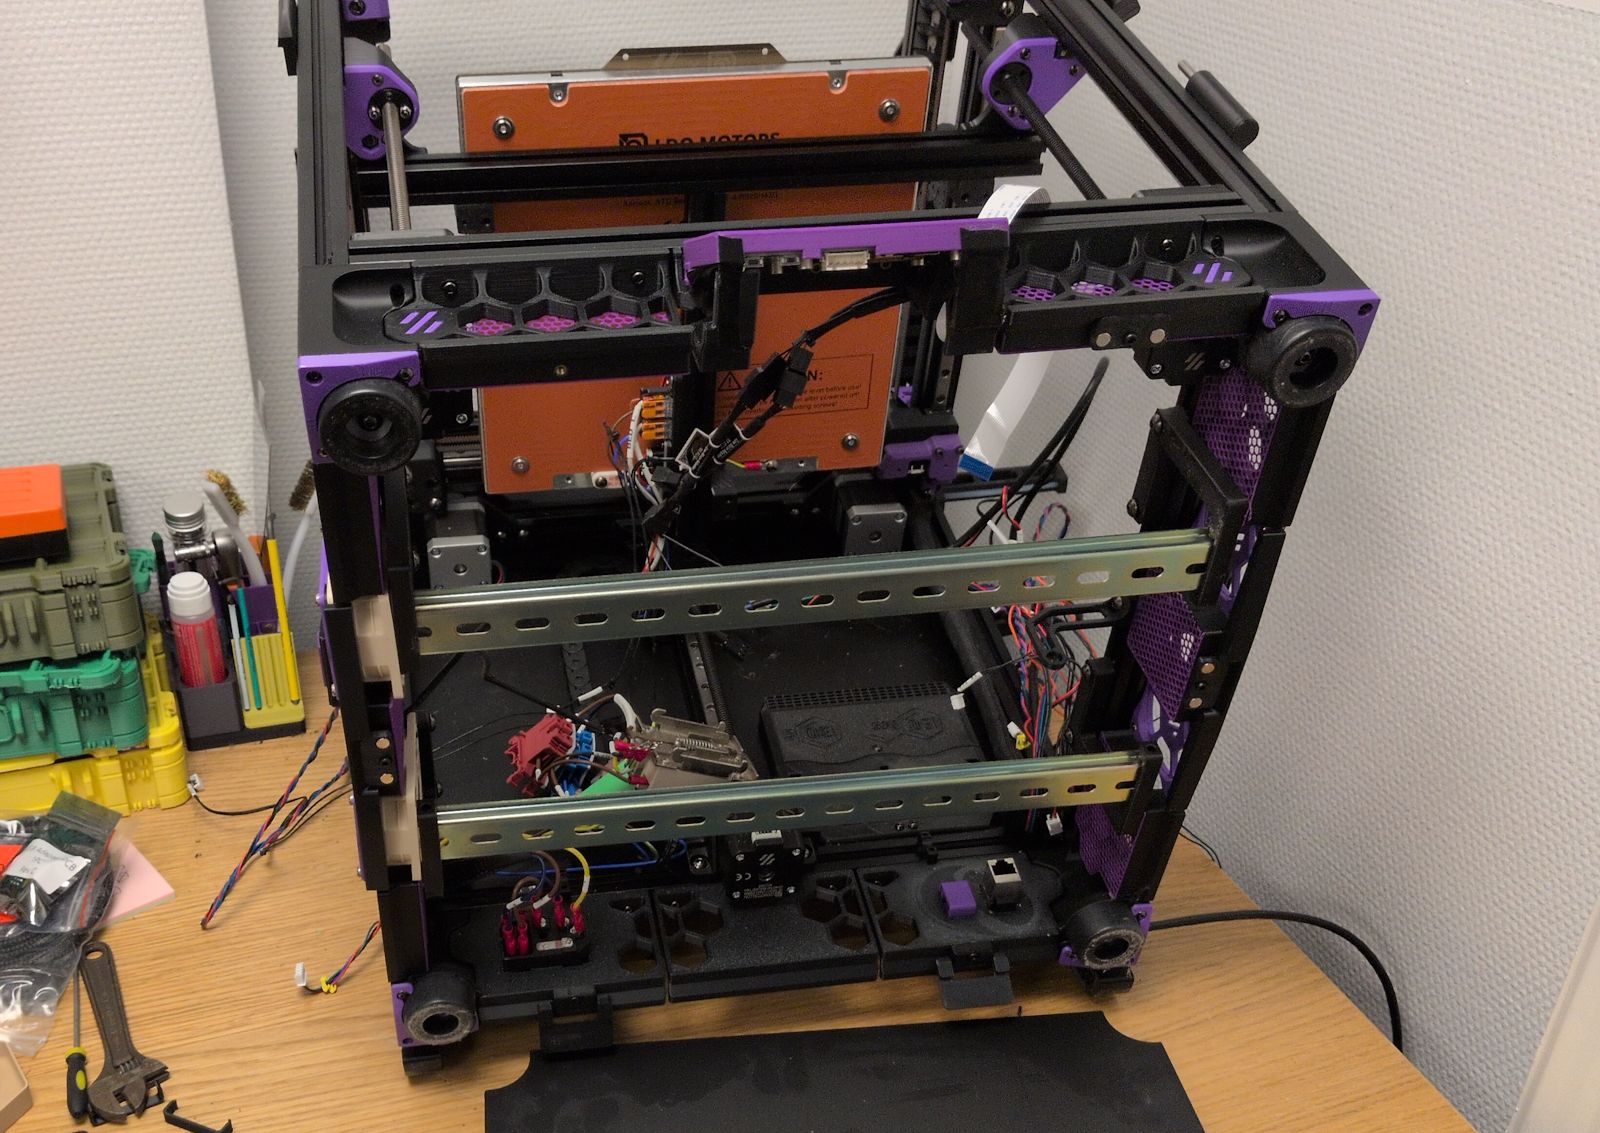
Inverted electronics
I’ve been looking at the Inverted electronics mod even before finishing my Trident printer. But it wasn’t possible with the Print It Forward service I used to print parts for my first 3D printer, and after the printer was completed I didn’t feel the need to redo the wiring again.
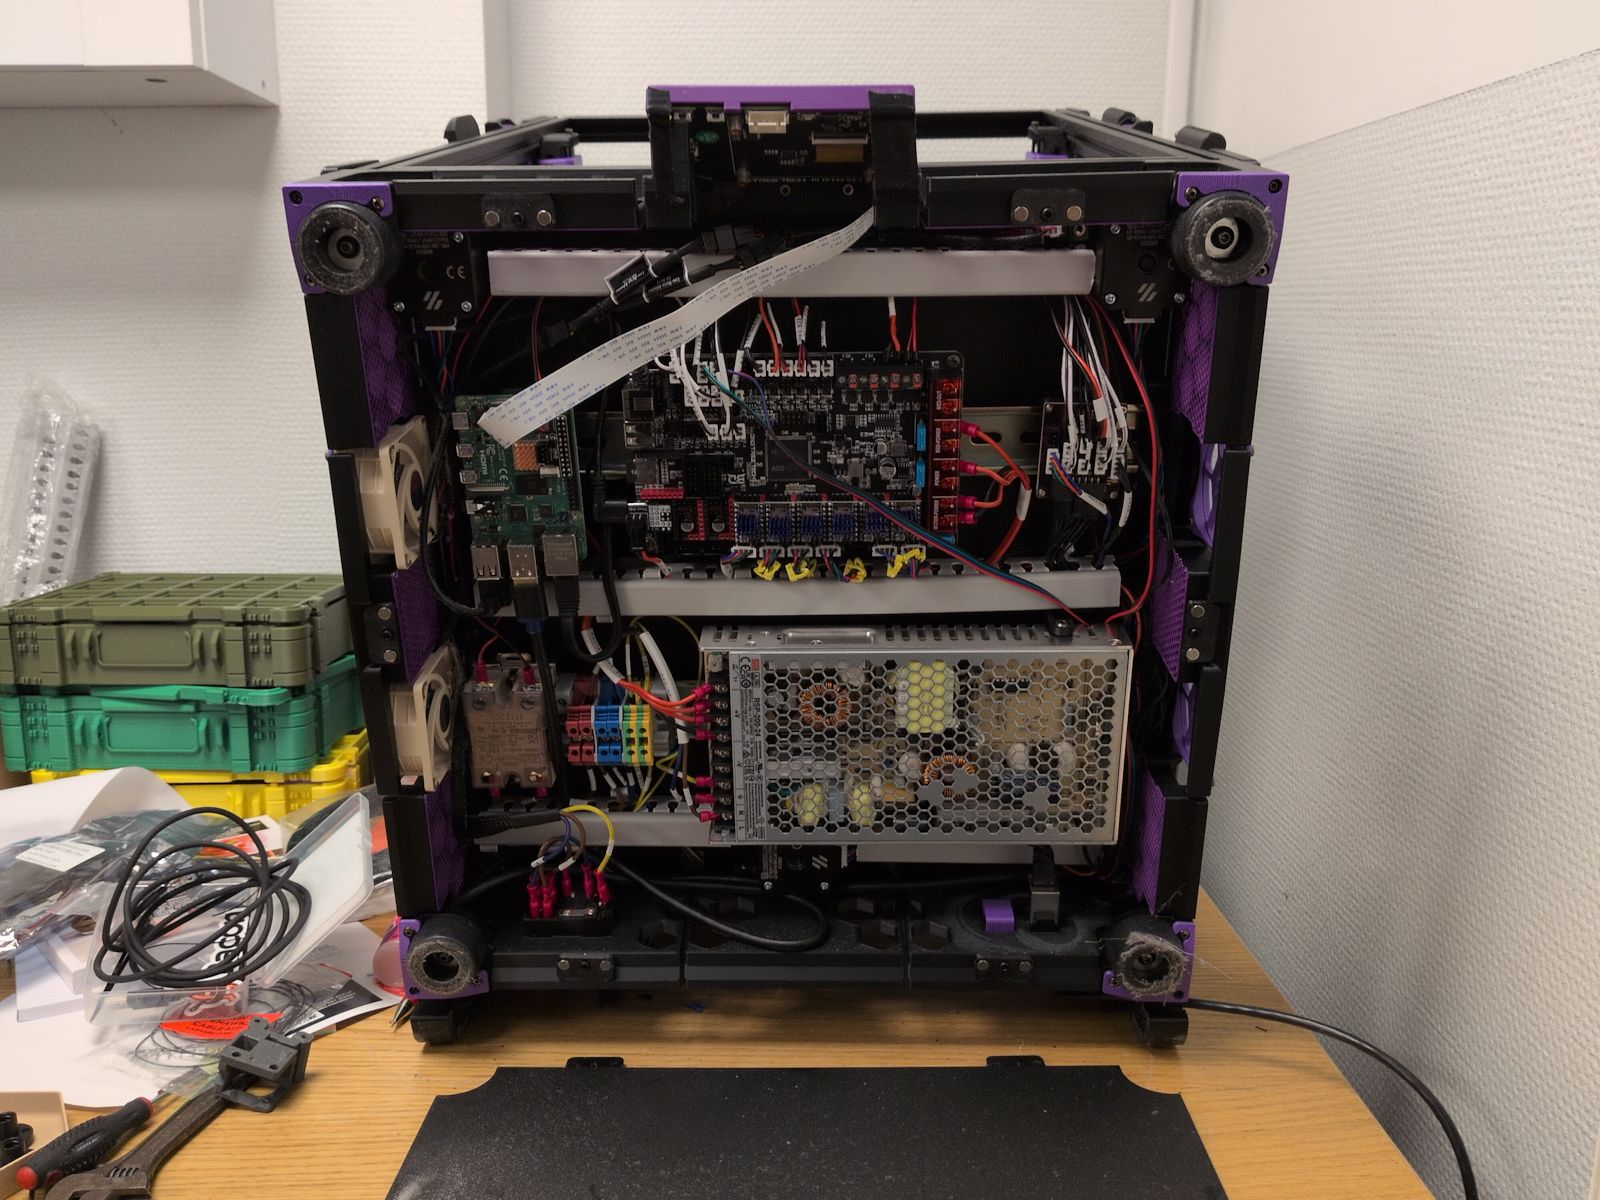
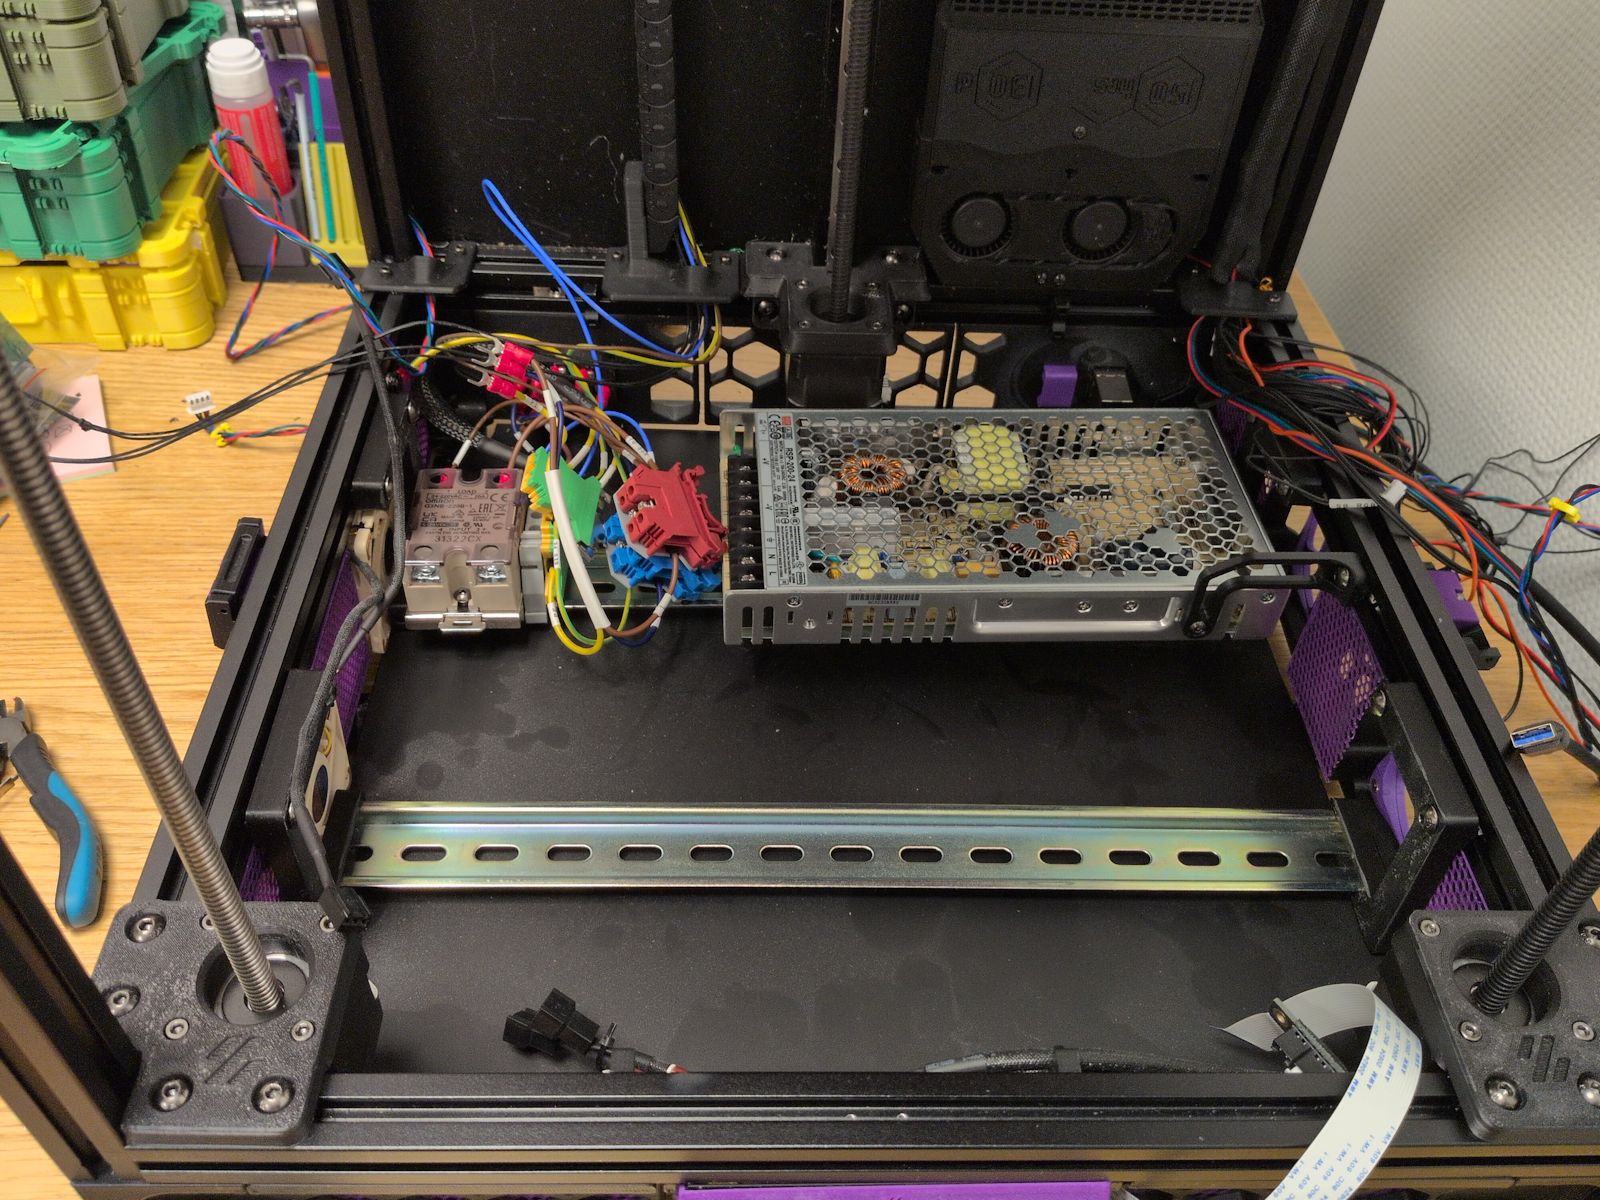
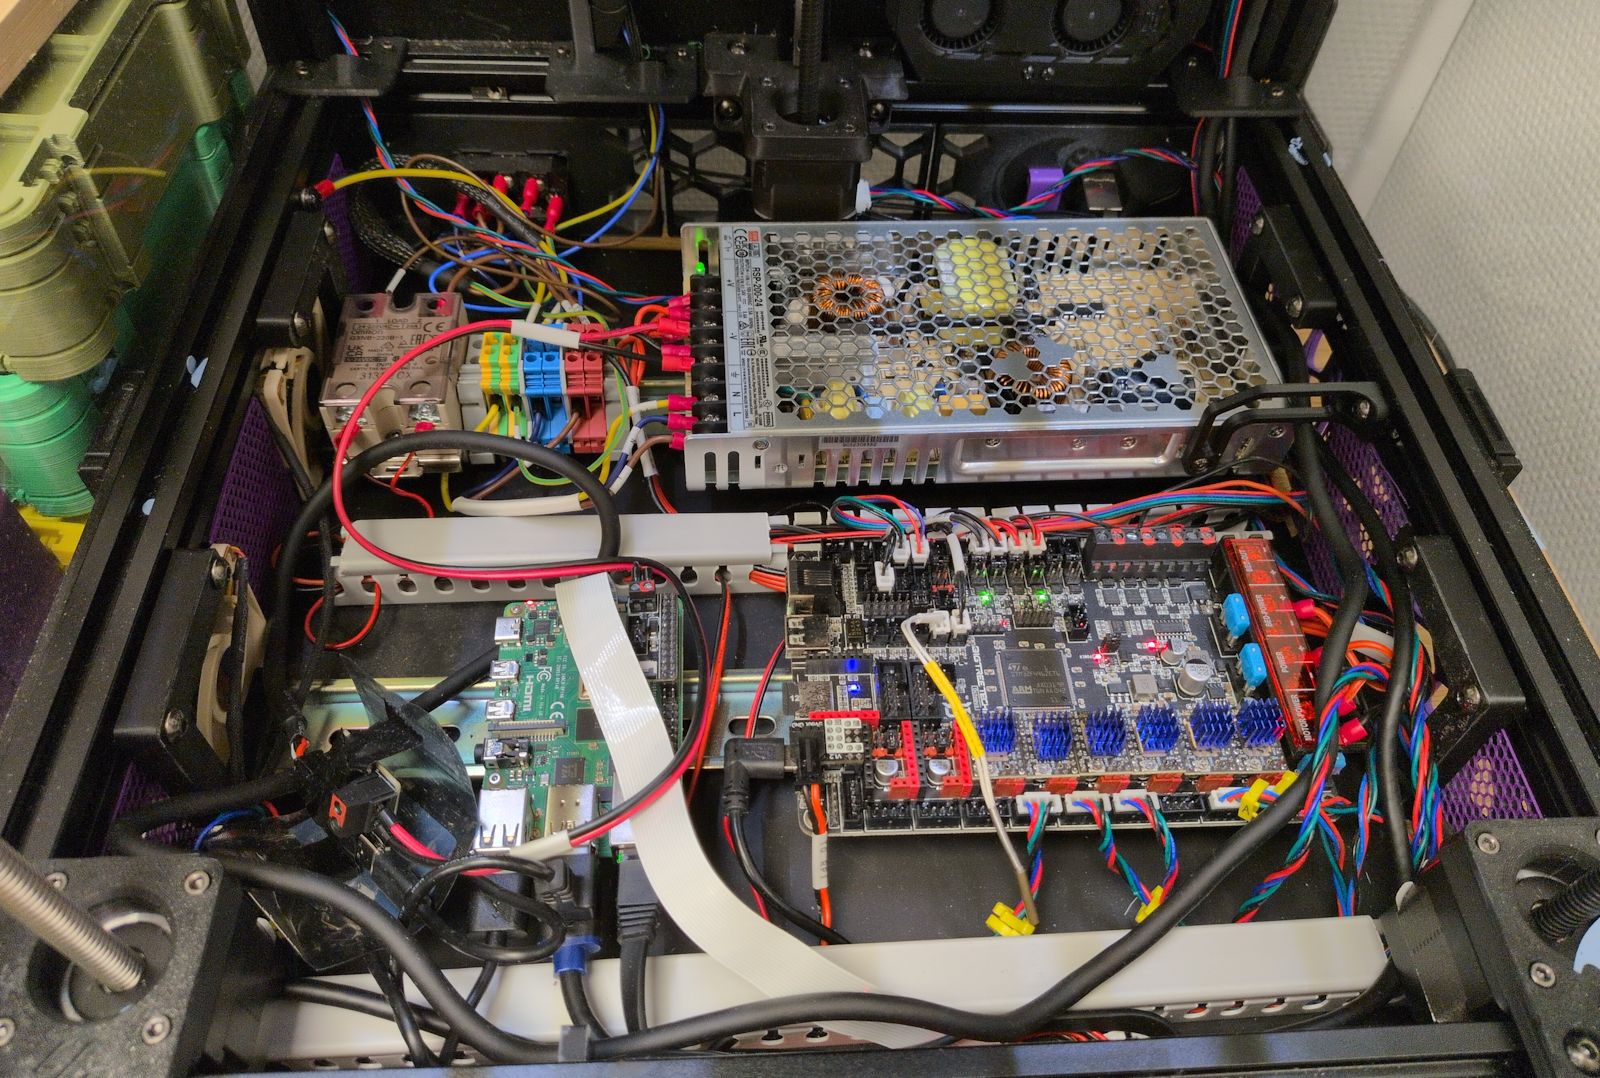
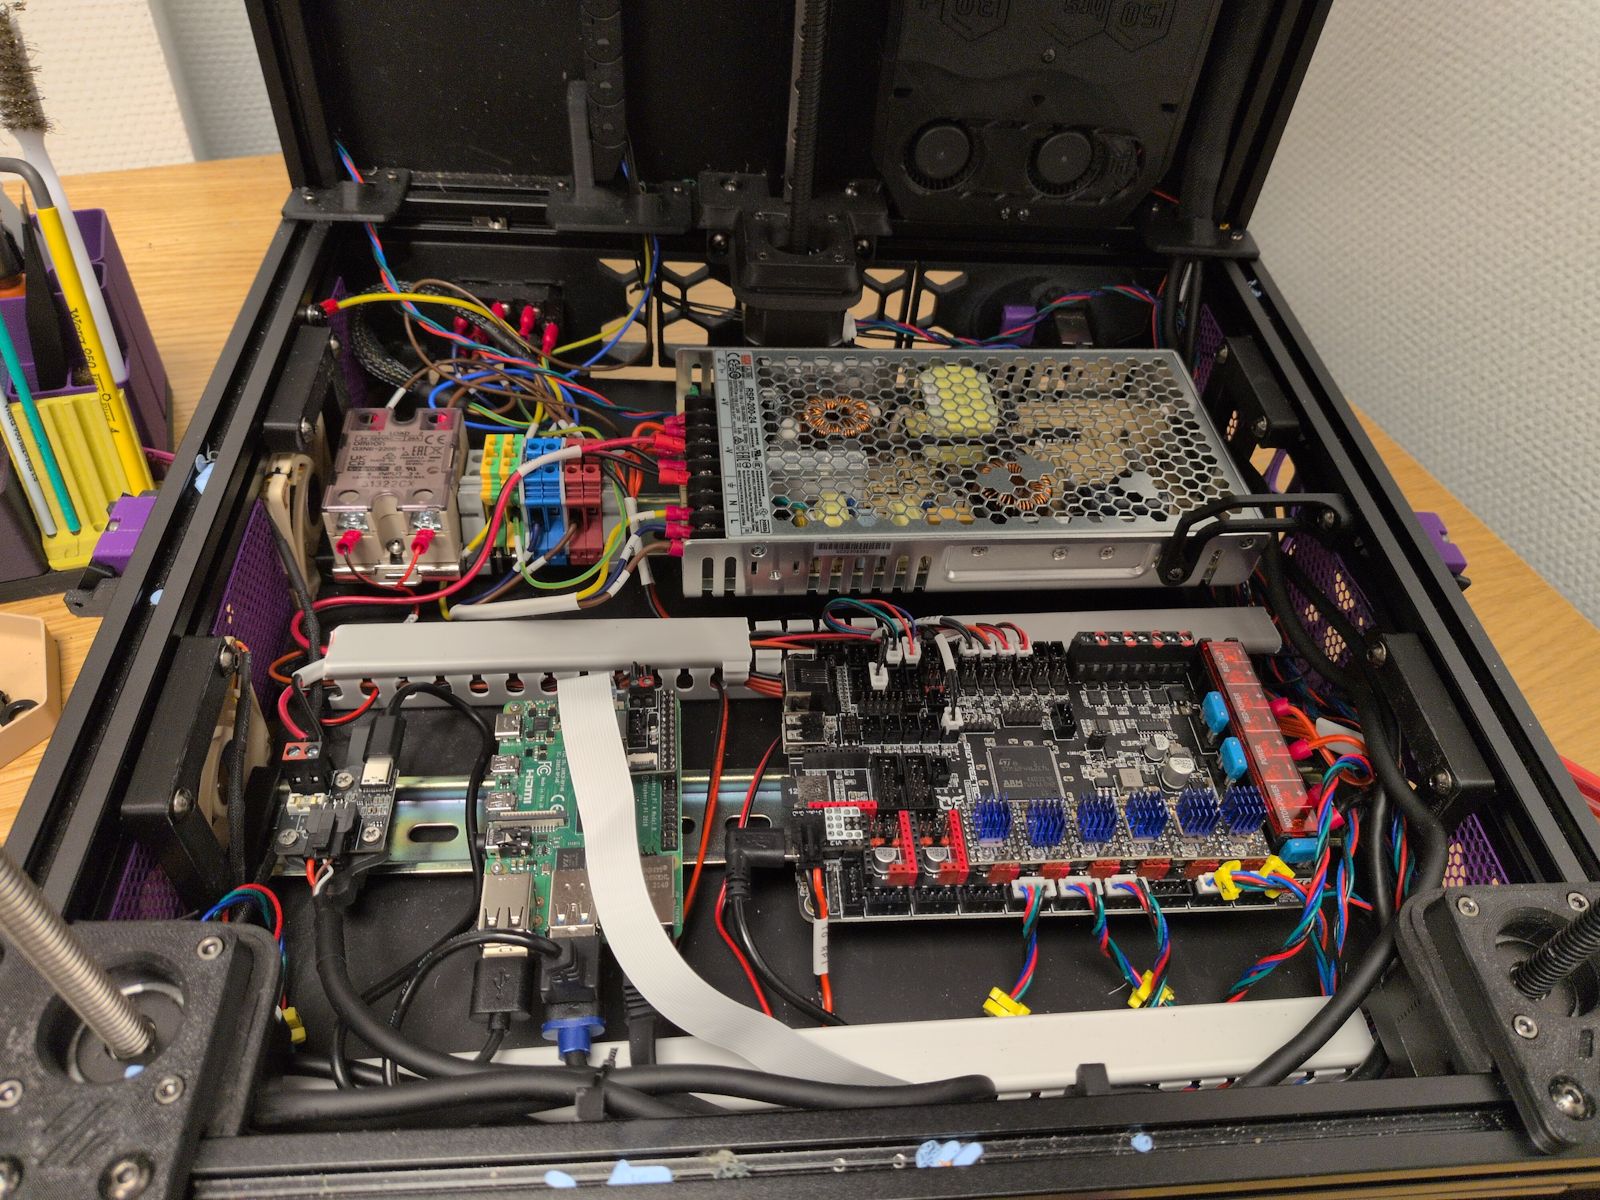
Overall it was surprisingly easy to reinstall all the electronics. It was made easier by the move to umbilical and a single USB cable to the toolhead as it removed quite a bit of wiring:
One issue I had with the mod is that the cutouts for the Z motors were a bit large, with gaps where stray filament or heat can escape through. I tried to cover them up by placing some foam tape around the motors:
Why the Jabberwocky?
I’ve been wanting to replace the Stealthburner toolhead a long time:
- The cooling for PLA is quite bad.
- PLA has a tendency to clog (seems like a decently common problem with Rapido and Stealthburner).
- Resolving a clog when it happens is a pain in the ass.
- It lacks a filament sensor and a cutter (for multi-color).
But what to choose? There are quite a few interesting toolheads I considered:
-
I use the Dragon Burner in my VORON 0 and using the same toolhead is boring.
-
A pretty fun toolhead and I was considering the Mjölnir version. It does require you to flip your XY joints to hang upside down and I couldn’t find a filament sensor or filament cutter for it, so I ended up skipping it.
-
XOL seems like a very well regarded and mature option with tons of support. It boasts much better cooling for PLA, which is one of the main reasons I want to migrate away from the Stealthburner.
-
A4T seems similar to XOL, while having even better cooling and a slightly simpler assembly. It would also make use of the Dragon hotend I’ve got lying here, gathering dust.
-
An all-in-one toolhead solution with filament sensors and a filament cutter that seems to have some quality of life features I think I’d really enjoy:
Flip up Extruder. Probably an industry first, a tool-less easy to access toolhead design so that one can access the blade or the filament path for servicing and troubleshooting. This allows a user, in the event of hopefully a rare problem during a filament changing print the ability to access the filament path to clear it of issues and continue with a print job.
The A4T-toolhead is interesting but the (supposedly) easier maintenance and multi-color consistency of the Jabberwocky really appealed to me.
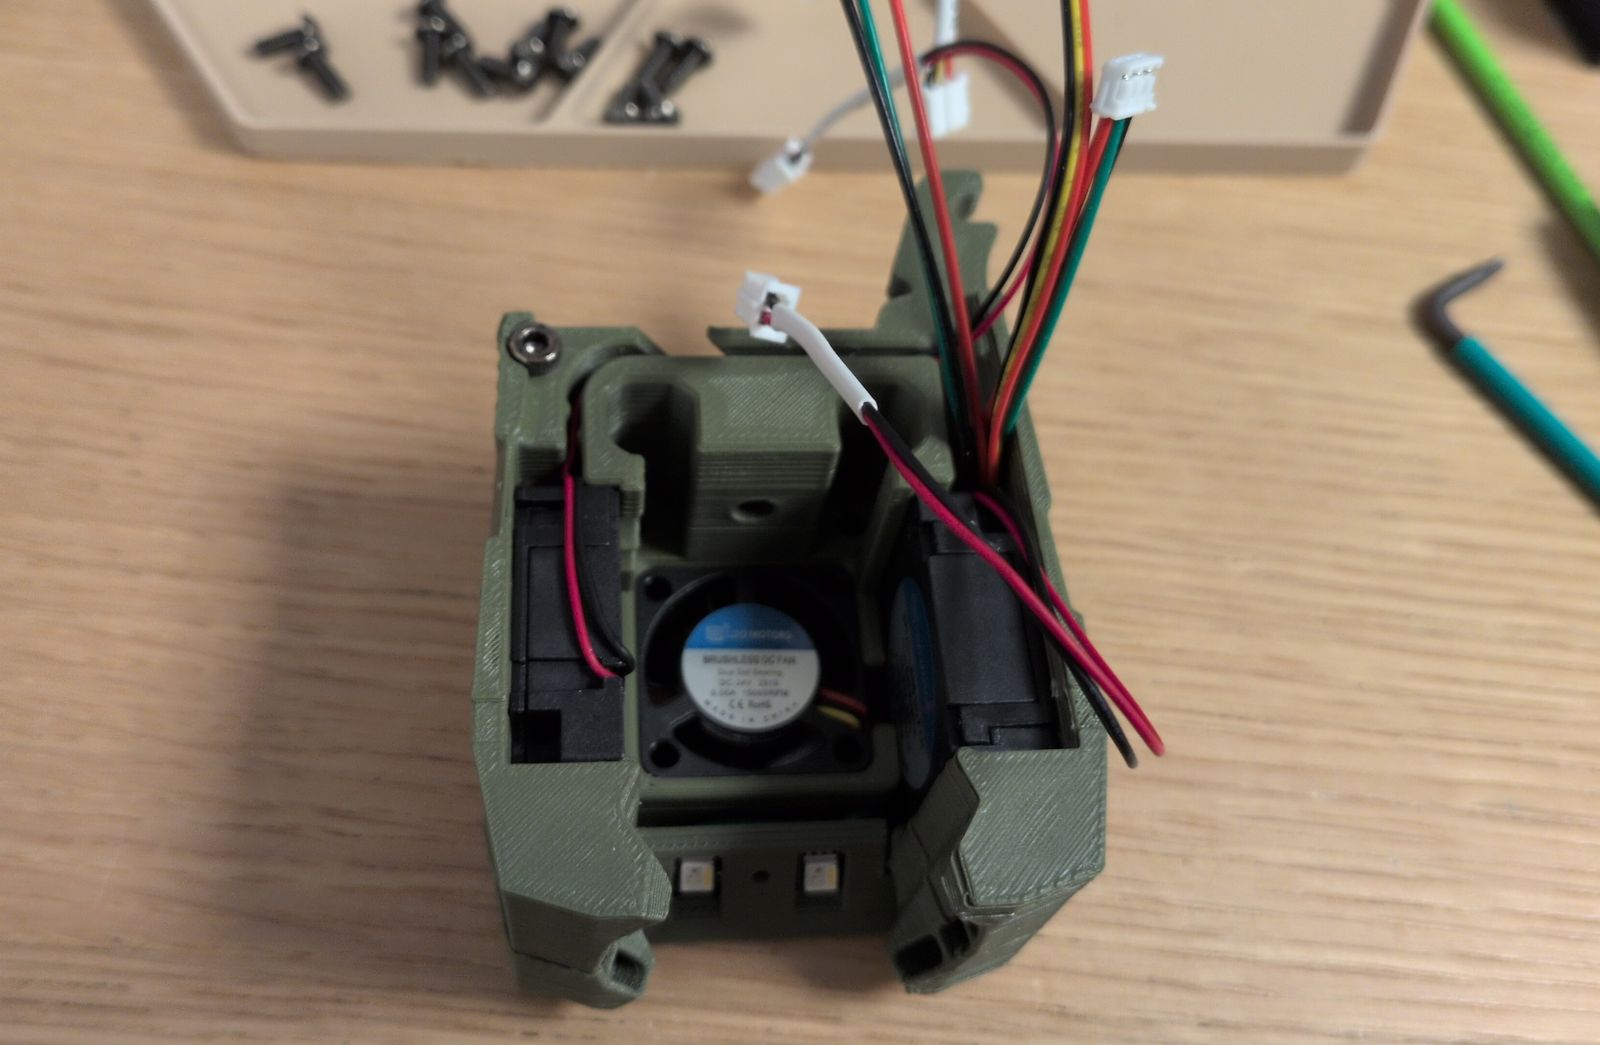
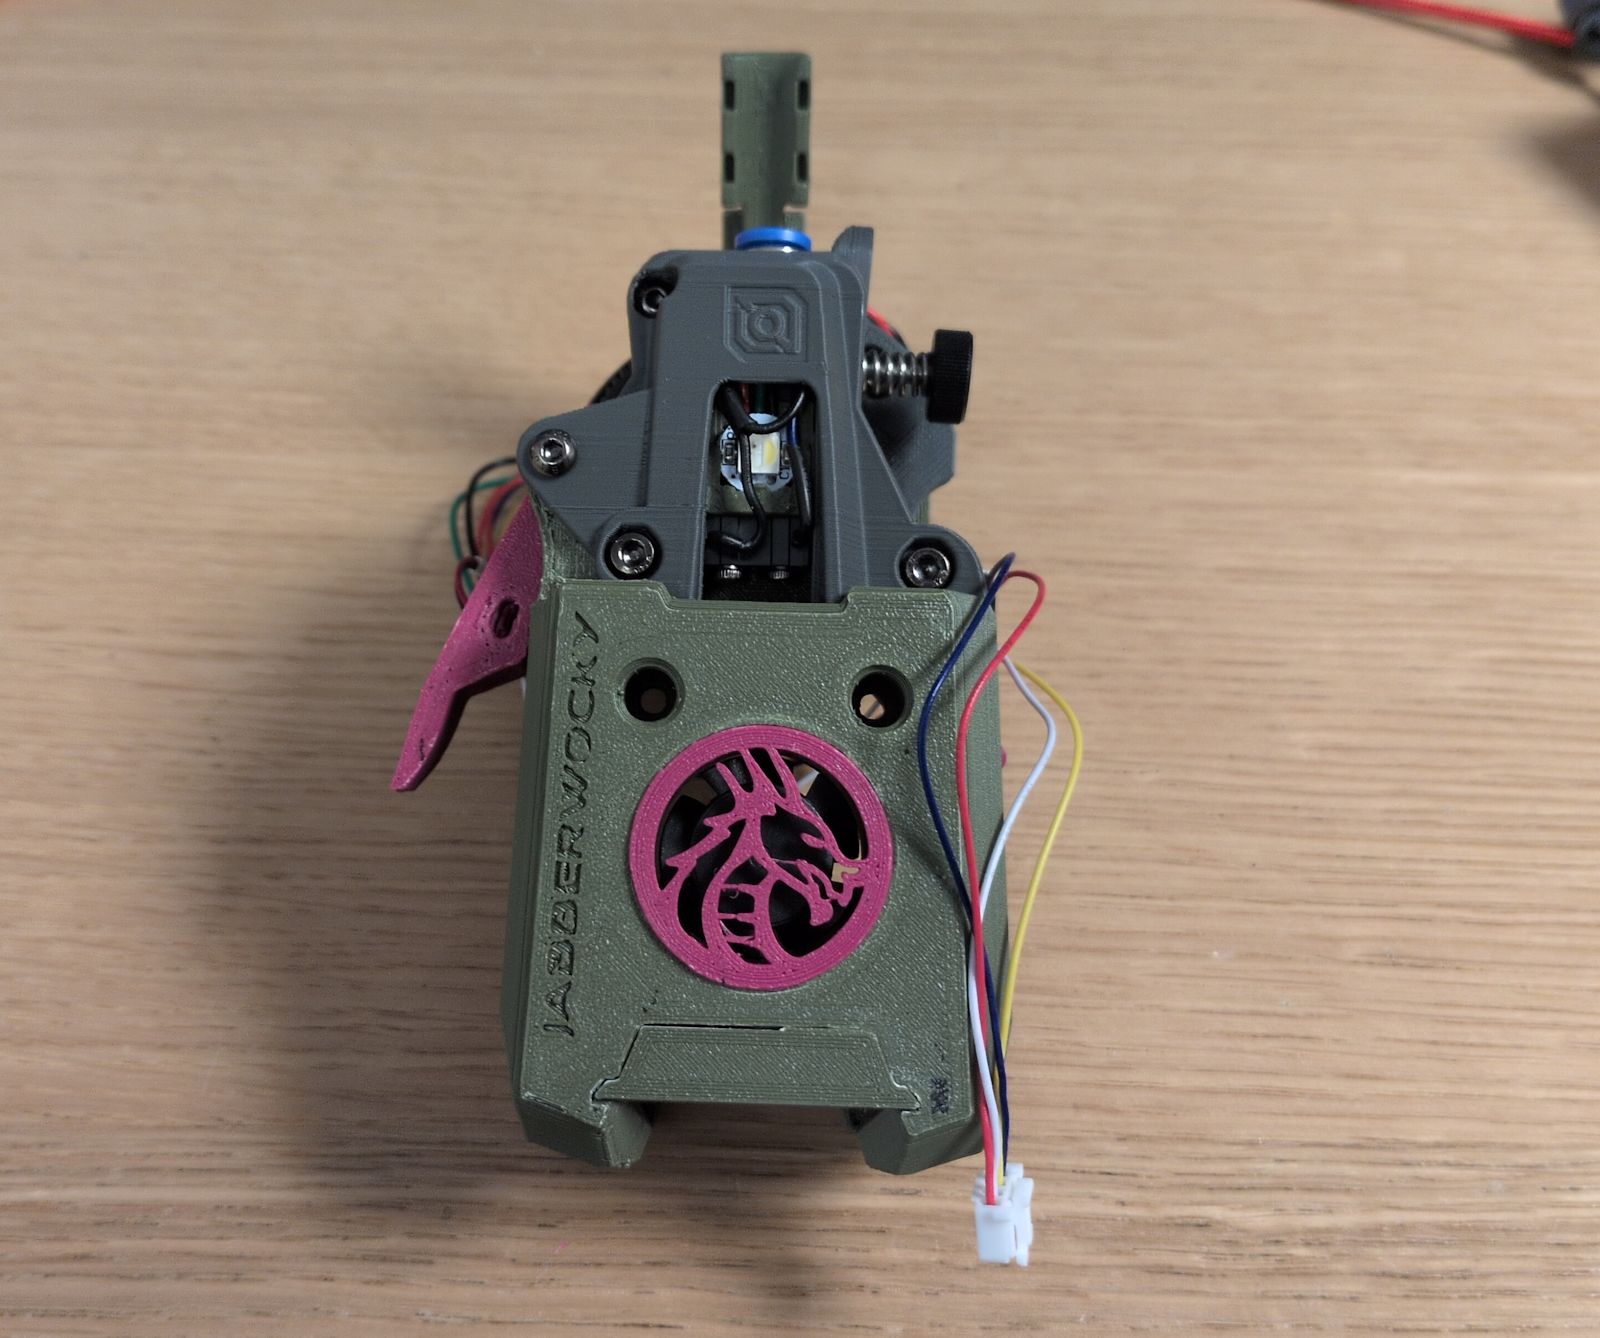
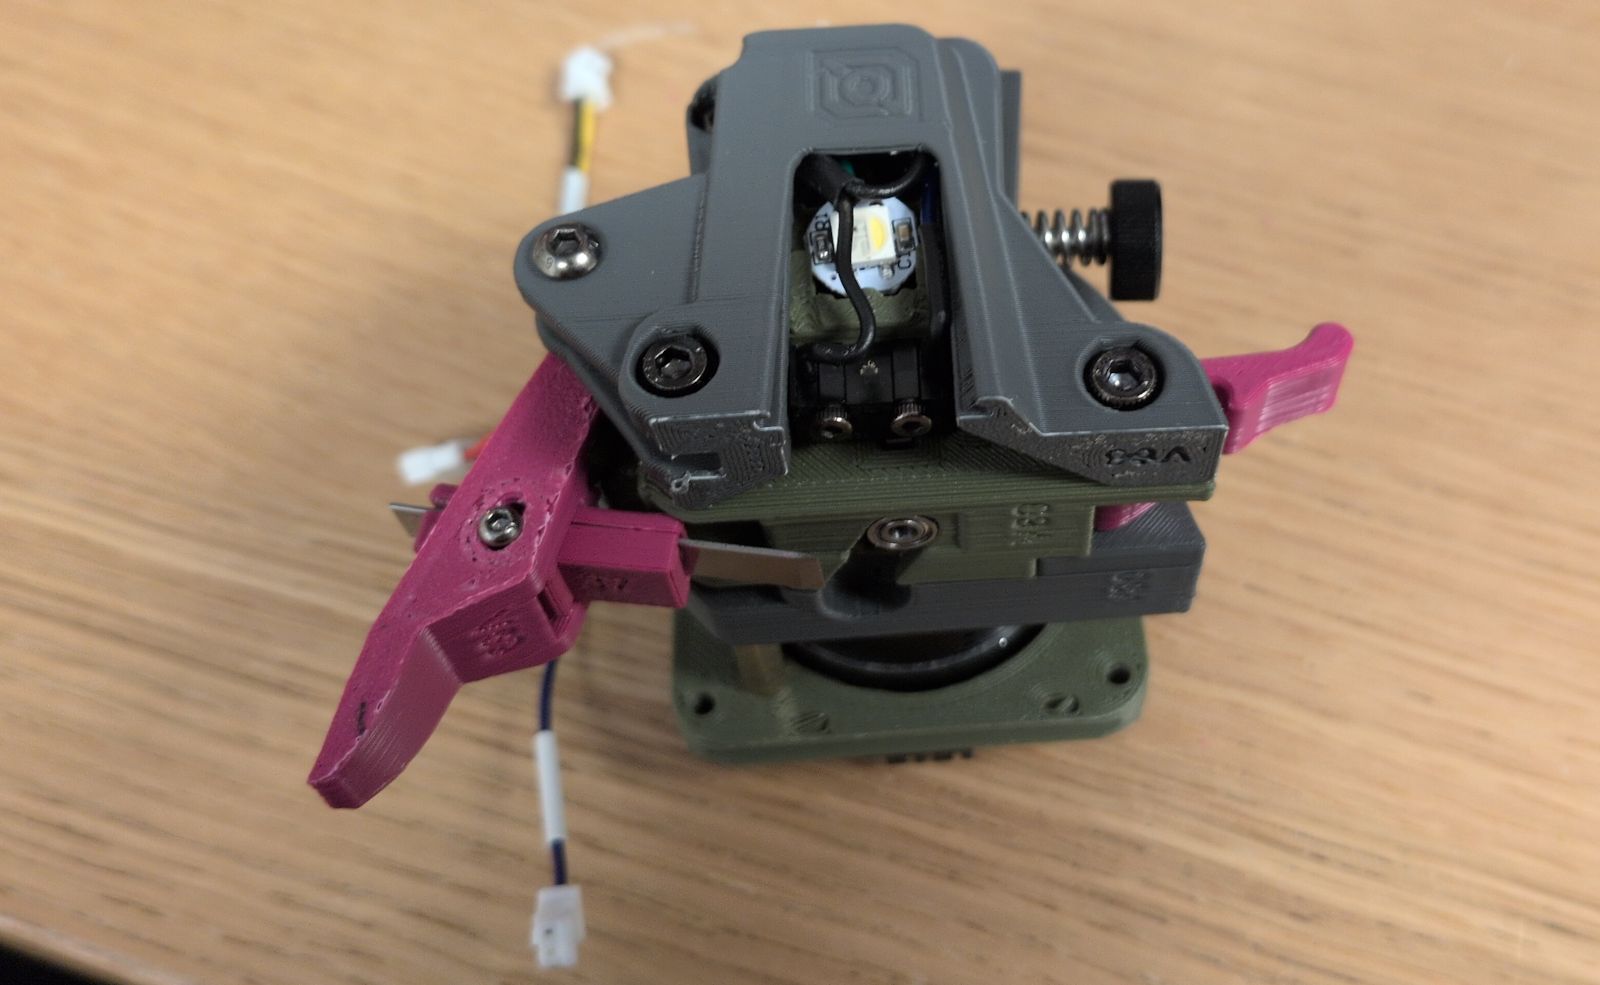
Building the Jabberwocky
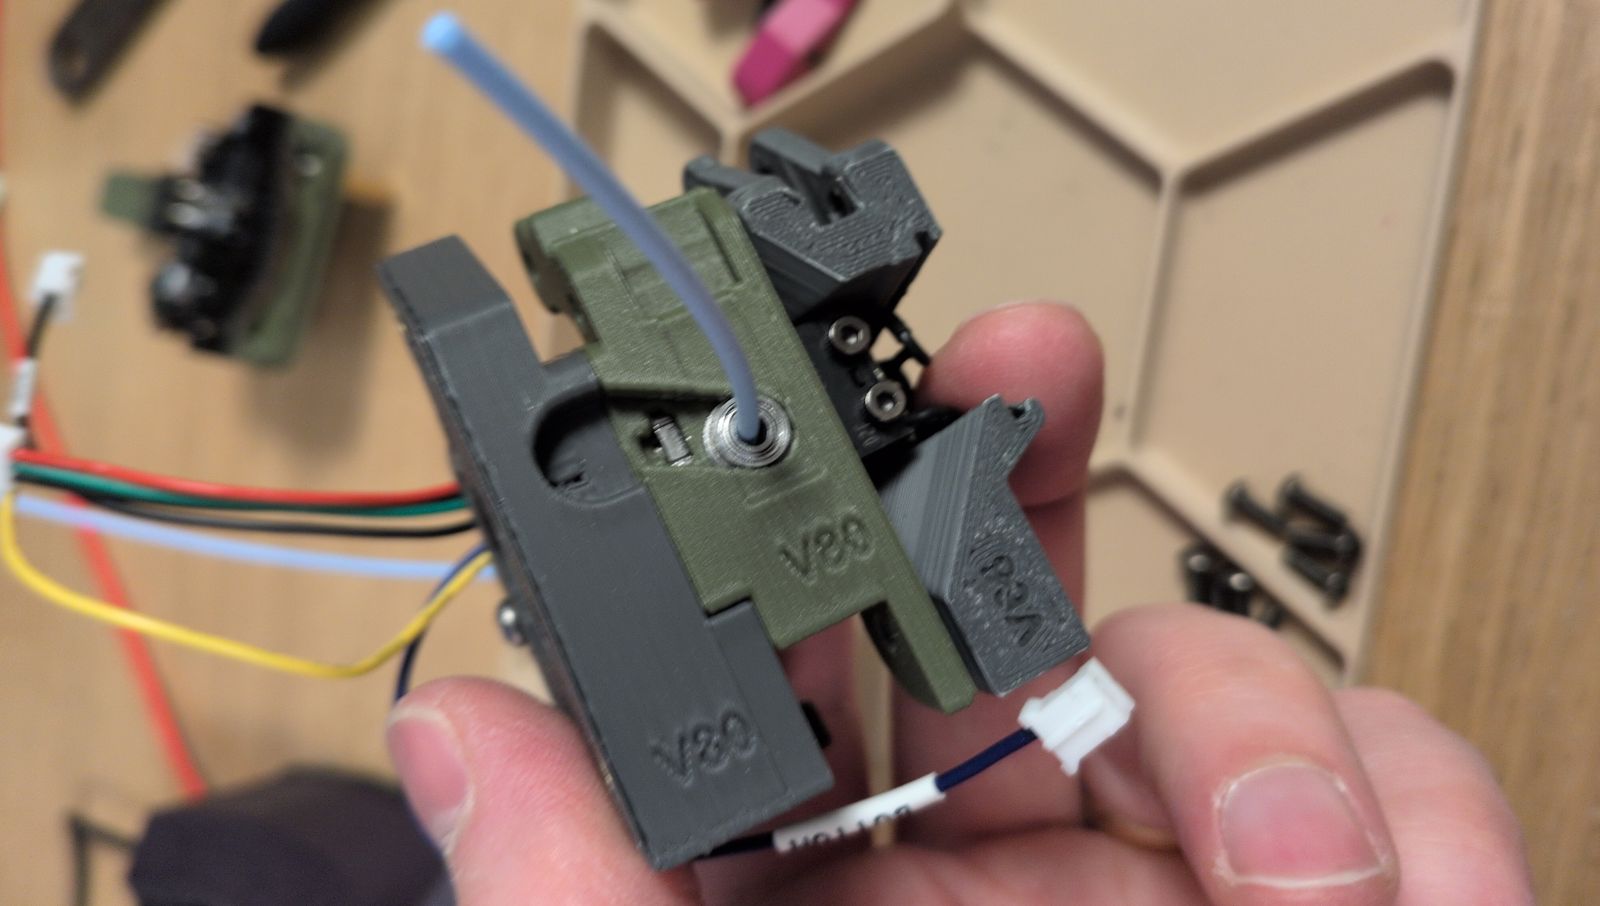
I struggled a bit to get the filament to load/unload consistently by hand. I rebuilt the toolhead but in the end I believe I just didn’t have enough grip on the filament to guide it past the gears down into bottom hole.
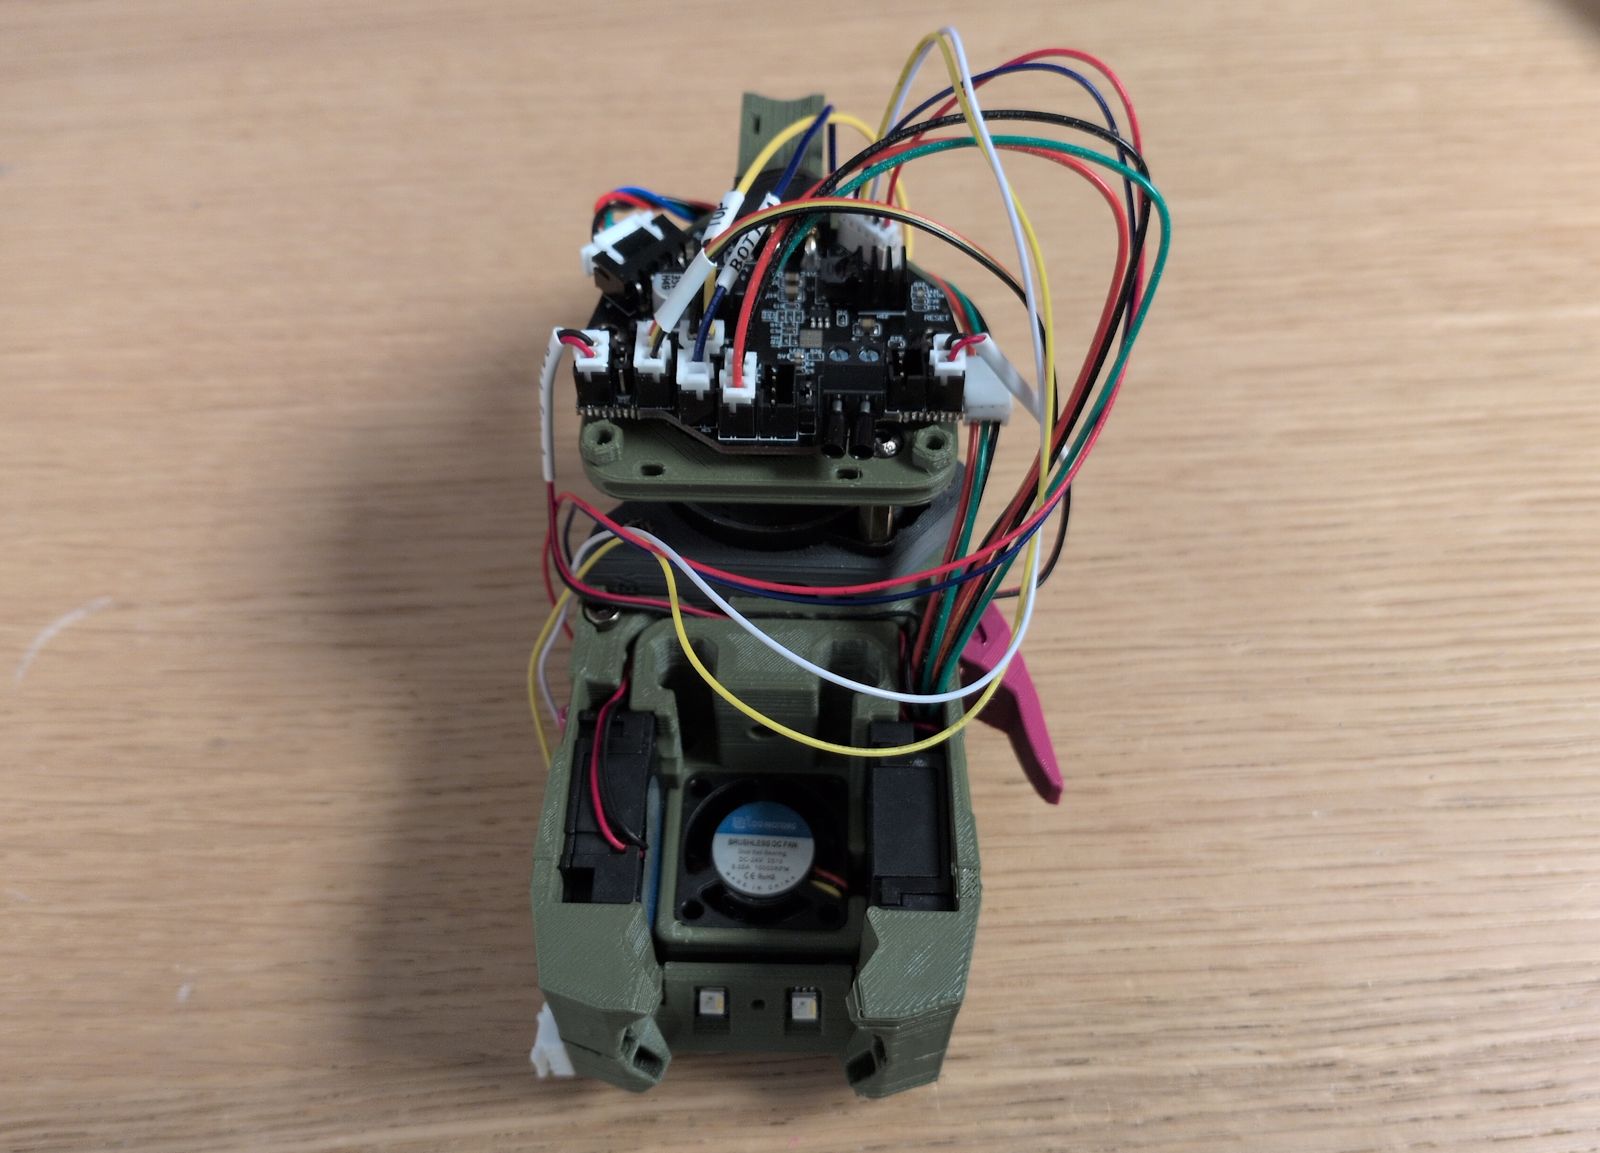
Beacon wiring
Most of the wiring came as-is except for the cable between the Beacon and the Nitehawk36. I got the Nitehawk36 side of the cable pre-made in the Nitehawk36 kit but I had to pin the Beacon side myself.
The colors of the wires in cable were all over the place but there’s a description on the PCB of both the Nitehawk36 and Beacon so I just had to take care to match them. I also referenced the Nitehawk36 documentation and the Beacon documentation.
Cutter installation woes
I had real difficulties installing the blade into the blade holder. There was some filament in the hole (likely due to poor print tuning) and I managed to break the holder when I tried to install the blade:
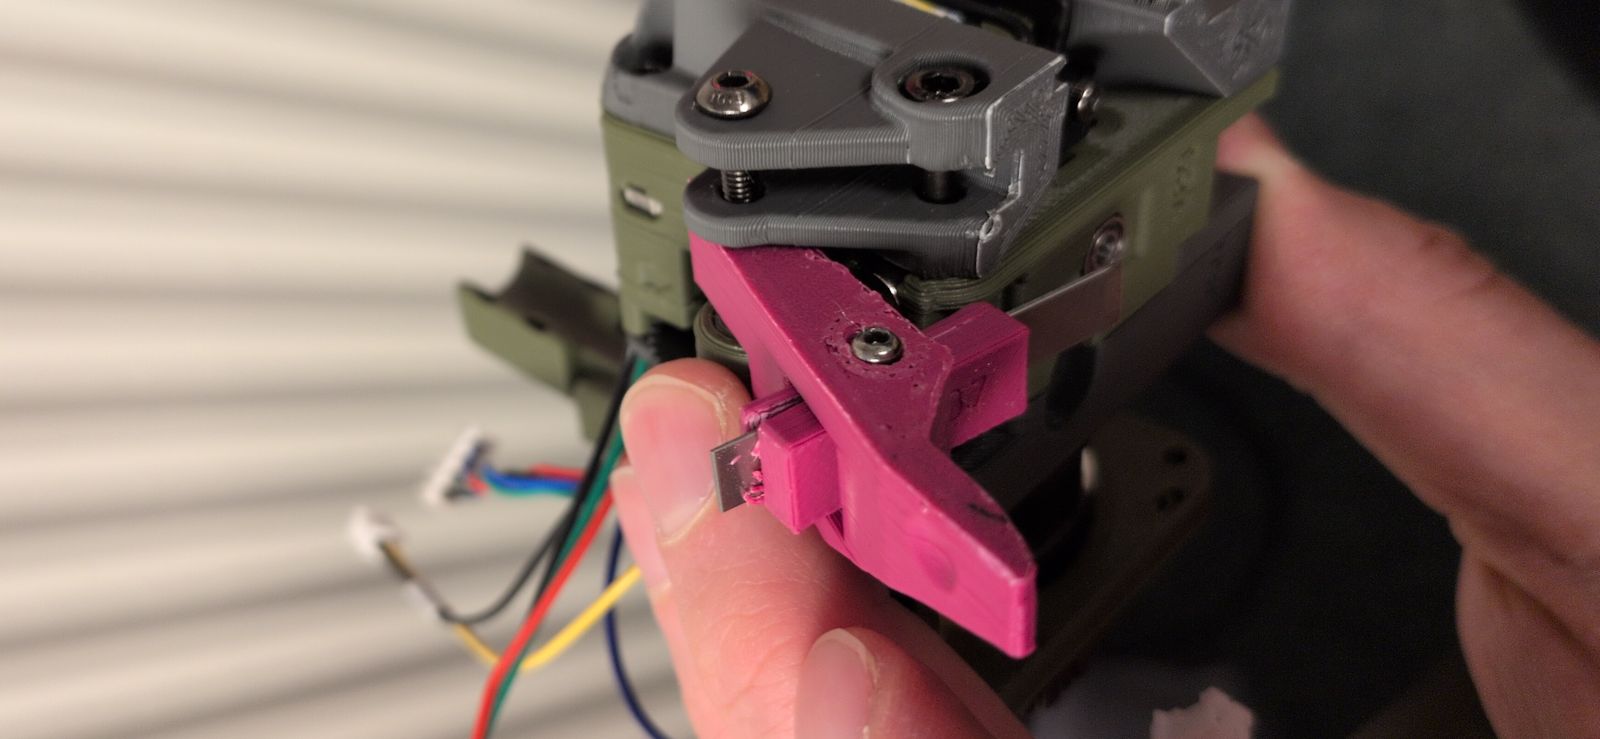
As I didn’t have a working printer when it broke I had to make it work without the filament cutter initially. Luckily I didn’t break anything crucial…
Software setup
I had to make some software changes but luckily they were quite straightforward:
-
Use sensorless homing.
I just followed the VORON documentation.
-
Setup the Nitehawk36 toolboard.
LDO has setup instructions and the Jabberwocky GitHub contains klipper settings.
-
Setup Beacon for Z offset and mesh calibration.
Their quickstart documentation was fast and easy. I did not setup Beacon Contact; maybe I’ll get to it one day.
What’s next?
After months of not having a working 3D printer I’ve gotten renewed energy to play around with the printer again. I’ve got some loose plans for some mods to make on this printer:
- Reprint the Jabberwocky and try to get the filament cutter up and running.
- Build and test the A4T-toolhead.
- Install a nozzle scrubber.
- Build a Box Turtle.
… Or maybe something else? Who knows!