Let's build a VORON Trident
Let's build a VORON: Printing & Tuning
It’s up and running, and now it’s finally printing time! Less exciting—but necessary—tuning the printer to make the prints better.
Filament shipment
Even though I’ve been building the printer for more than a month, I wasn’t ready for it being time for printing so soon. I don’t know what filament is good and what I need, so I decided to get a few different brands and colors to try out:
- 3DJAKE niceABS Black
- eSUN ABS+ Purple
- Polymaker PolyTerra PLA Army Dark Green and Army Blue
- 3DJAKE ecoPLA White & Black
- Spectrum PLA Dragon Red
- eSUN eSilk PLA Gold

Secondary printer tuning
At this point the next step in the VORON docs is making a print. But I had various issues, so I went through the Secondary printer tuning before getting my first successful print.
Gantry racking & squaring
I’ve already done the gantry racking, yay!
Belt tension
I always wondered how tight the belts were supposed to be. Tuning it by measuring the frequency using an app was pretty nifty, and it was quite painless.

I tried to tune it to 110Hz, but I’ve seen people aiming for 120Hz.
Bed mesh
To setup a bed mesh you just add something like this to Klipper:
[bed_mesh]
speed: 300
mesh_min: 40, 40
mesh_max: 210, 210
fade_start: 0.6
fade_end: 10.0
probe_count: 5,5
algorithm: bicubic
And then BED_MESH_CALIBRATE will do it’s job:

I also setup Klipper Adaptive Meshing & Purging (KAMP) using their setup instructions to dynamically adjust the bed to fit the print size.
Input shaping
The guide references input shaping, which is included in the LDO kit. NERO 3D recommended to wait with input shaping until you’ve printed with it a bit, so I did the input shaping after ~5 hours of printing time.

I didn’t do anything special and just accepted whatever it spat out.
First print
The VORON docs makes the first print seem so simple—just upload the print and eat a bowl of cereal. And I was looking forward to just hitting print and watching it go brr… But of course things wouldn’t go so smoothly.
Problems I’ve had include but isn’t limited to:
-
Print stopped with
Hotend not enoughThis happens because the Tap G-code reduces the hotend temperature to 150° when probing to not damage the bed, but then the temperature is too low for printing.
To fix it I had to manually set bed and hotend temperatures after Tap and modifying SuperSlicer to provide these values to the
PRINT_STARTmacro as detailed in a betterPRINT_STARTmacro. -
Filament didn’t load.
And KlipperScreen complains about
FILAMENT_LOADnot existing. Sigh. -
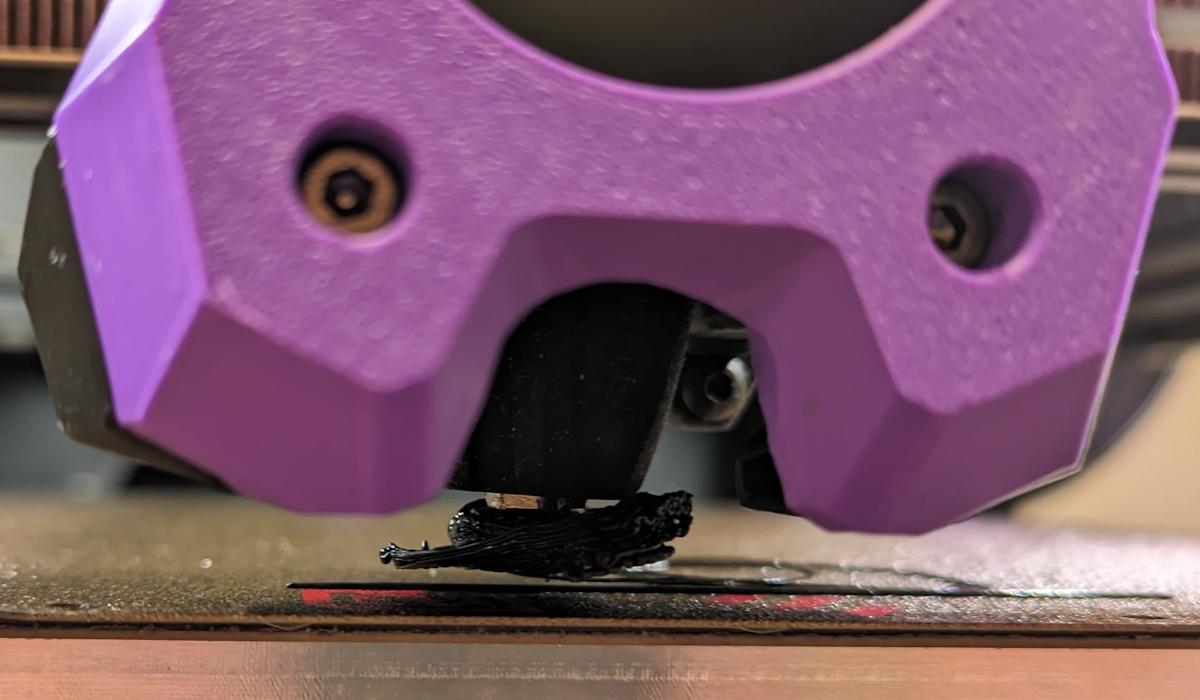
First layer not sticking to the bed.
A combination of using the wrong temperature and
z_offsetwas to blame. -
After a few failed attempts, the filament clogs.
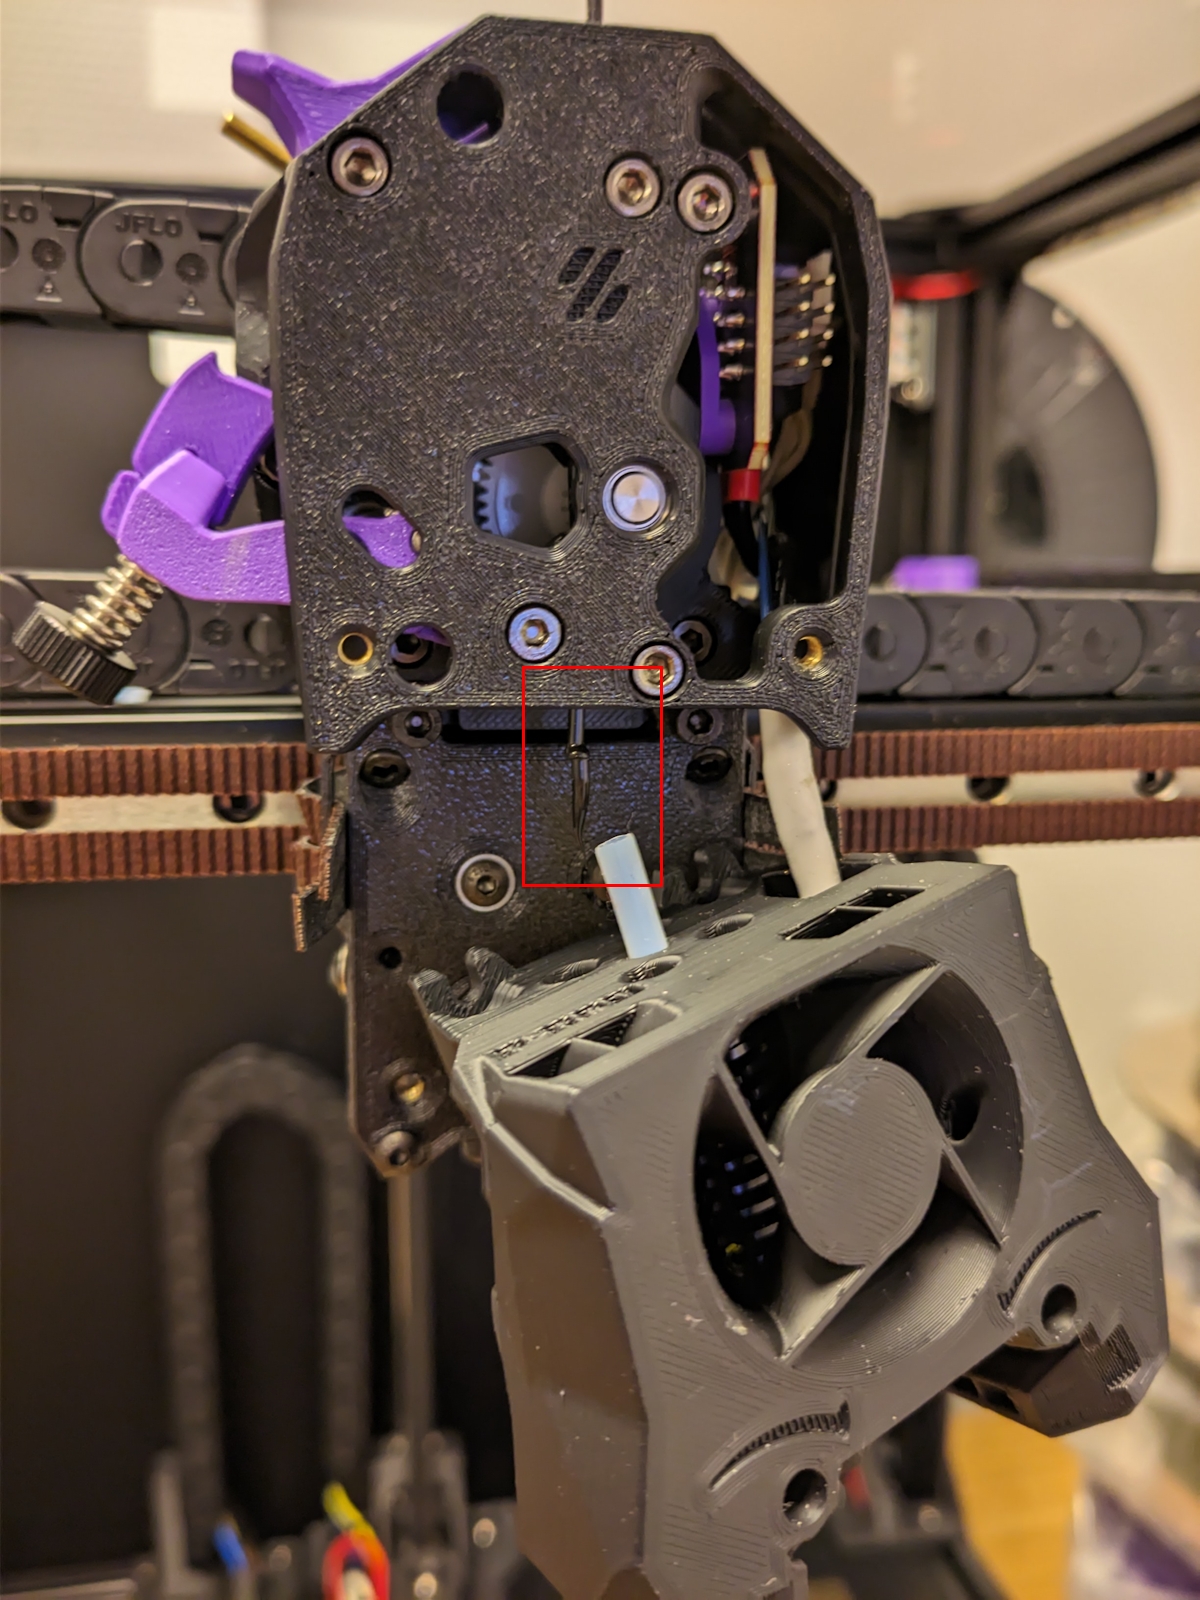
The filament clogged somehow, and I had to disassemble the toolhead to fix it. -
Bunch of “Unknown command” errors in the mainsail log.
I assume it’s because Klipper wasn’t selected in the “G-code flavor” in SuperSlicer.
-
The print coming loose from the bed after a while.
Oh FFS. I struggled with this a fair bit. I reconfigured
z_offsetwhich seemed to work, but maybe it’s extruding too much filament causing the toolhead to hit the print?
After all that trouble I was running into I was expecting for getting an absolutely shit print… But it’s actually not that terrible?


It’s far from perfect, but the lighting is fairly harsh and it looks better in real-life. My friends have shown many 3D prints that look a lot worse.
Functional prints
High on adrenaline I set out to do my first functional print: an exhaust cover for the back of the printer. I’m going to replace it with a proper filter in the future, but I wanted something to cover the big hole in the back when printing ABS, so I wanted to make a temporary in PLA.
But it things can’t go that smoothly:

The printer made some extremely unpleasant sounds, and I was scared that the nozzle was grinding against the bed. I tried to tweak the z-offset during print, but I the sound didn’t stop and I ended up destroying the print.
The nozzle didn’t hit the bed and it was the stepper motors being super loud… But more on that in a future post.
When I re-ran the print and stopped messing with it, the printer spat out a functional print:

Other things weren’t that good:

Simpler models seem to print well, but it struggles with more complex geometry. While I can probably use this Nevermore mount with some sanding, this level of quality isn’t high enough to for example print parts for a VORON.
More tuning is needed.
More print tuning
Ellis’ print tuning guide seems like the go-to guide for tuning your prints. It contains a lot of info, so I won’t write about it too much lest we’ll be here all day. These are the big things I did:
-
Extruder calibration
This contains the images on how to measure the extrusion distance I was missing from the VORON docs. I redid the calibration but with the top panel removed to get a more accurate measure. Turns out my previous calibration was 10% off. Yikes.
-
First layer squish
I wasn’t really sure how to do this, but I think the point is to print one square using one z-offset and then change it a little for the next square to see which produces the best print. In SuperSlicer I had to enable the “Complete individual objects” setting for it to print one square at a time.
My previous z-offset using the paper was pretty damn good, but I ended up accepting a
-0.01extra offset (increasing it to-1.050). -
Pressure advance
I used the pattern method, although there were so many settings I was unsure about so I don’t know how well it worked out.
Still, I got a value of
0.04and for some reason I didn’t have any pressure advance setting previously. -
Extrusion multiplier
It was super difficult for me to tune this as I wasn’t sure what to look for. I ended up choosing
0.98, but it could’ve just as well be1.0. Apparently I should do this for every new filament? How bothersome.
There are more things in the guide, but they feel like issues you should keep in mind when printing and not something you tune for from the start. With the massive amount of tuning options both in Klipper and SuperSlicer I’m sure this will be a topic I’ll have to revisit many times.
Some more prints
I printed out another calibration cube and I hoped to have some good comparison pictures here, but truthfully the difference was really small. There were some slight improvements, but not something that shows up well in pictures.
So here are some other parts I’ve printed:


Despite some artifacts I’m happy with these results, especially since these were new spools of filament that I didn’t do any tuning or drying for (I don’t have a filament dryer yet). The prints were absolutely good enough for me to start printing a bunch of mods for the printer.