Let's build a VORON Trident
Let's build a VORON: Bed & electronics
I’ve made a lot of progress on my VORON. Electronics and other stuff are installed to the degree that I’ve begun wiring, but I’m going to separate the wiring into it’s own post.
This will be a short post about bed preparation and installing electronics components.
Feedback from the VORON forum
I’ve gotten some feedback from the friendly VORON forum on some issues I should take a look at:
-
Verify that the frame is built square (I’ve tried to do so).
-
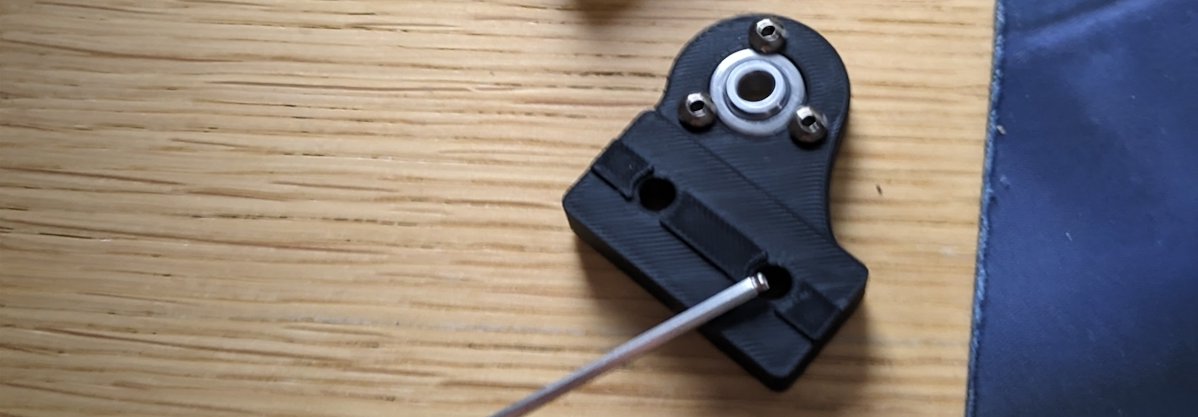
The front Z motor mounts were swapped.
Front Z motor mounts now have the VORON logo at the front. -
I should check the gantry racking to get rid of it catching (I haven’t done that yet, I want to finish up the wiring first).
Misaligned extrusion
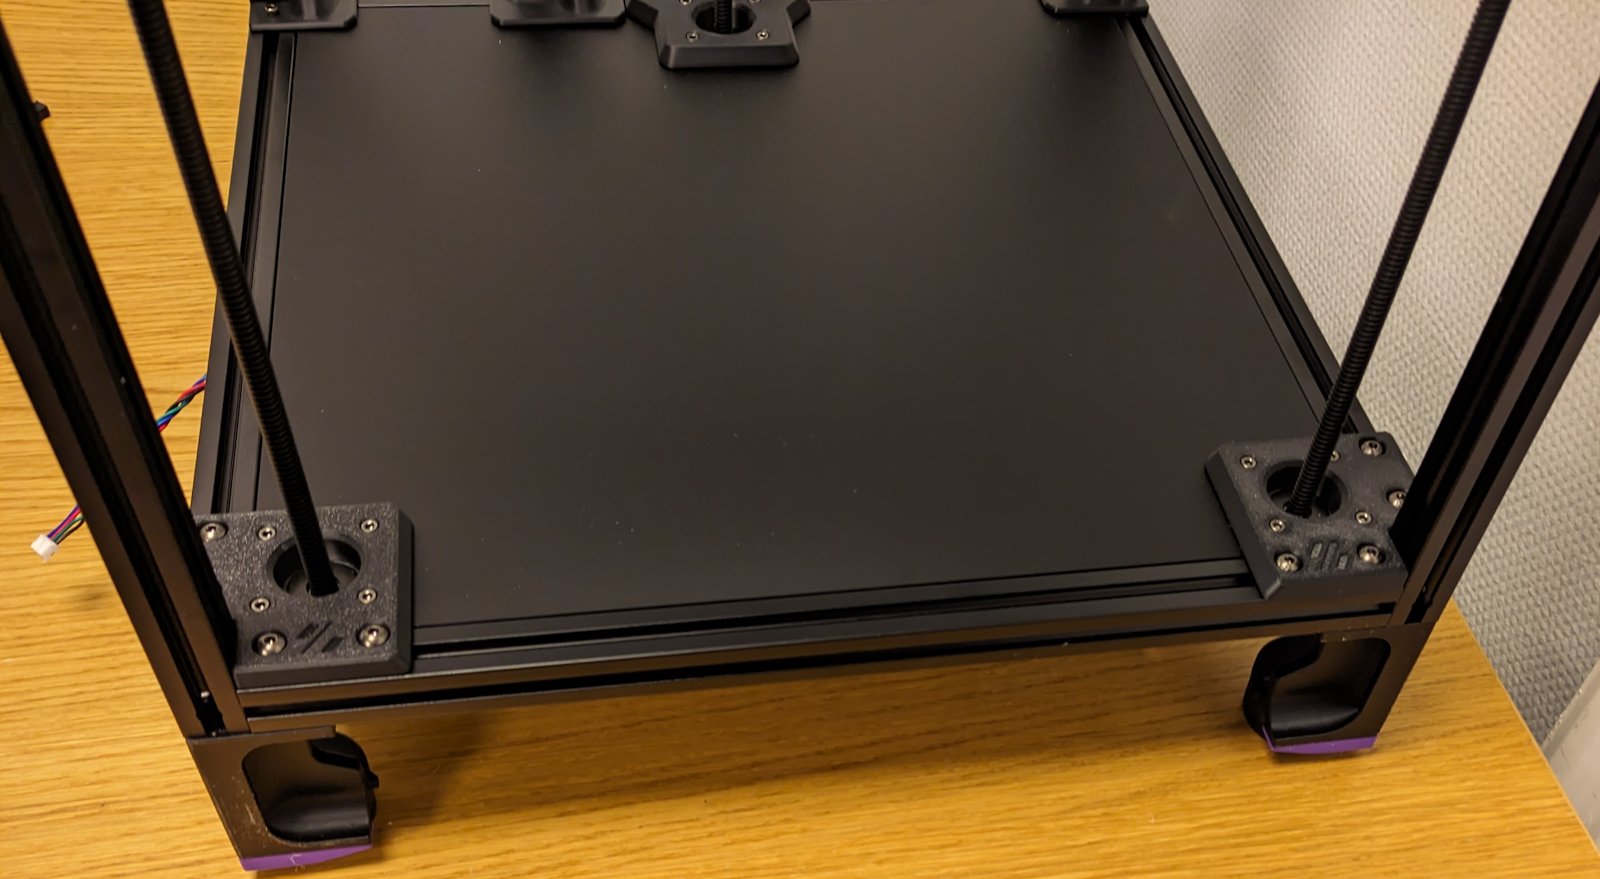
When I was going to insert the top cover I noticed that the Z motor didn’t fit into the cutout, and I discovered that the center extrusion wasn’t right in the middle:


I have a small memory that I measured it, and the spacing was off by a little, but then maybe I forgot to do something about it? Just goes to show how my plans of taking the build slowly and trying to be thorough doesn’t prevent me from doing silly mistakes.
The buildplate
Even though the assembly manual says that you should install the buildplate at this point, I decided to skip it. I got the tip from Nero3D to only install it at the very end, even after wiring, because it’s heavy and makes the printer more annoying to flip around during the build.
Other than the small screws murdering my fingers, installing the final extrusions was straightforward.


Electronics
And now the part of the build I’ve been most worried about begins; avoiding blowing up the electronic components.
Well, that requires wiring so maybe I’ll blow it up in the next post.


I couldn’t find the LDO Beefy Raspberry Pi Mount in my printed parts. But why would I need it, the standard parts work well?
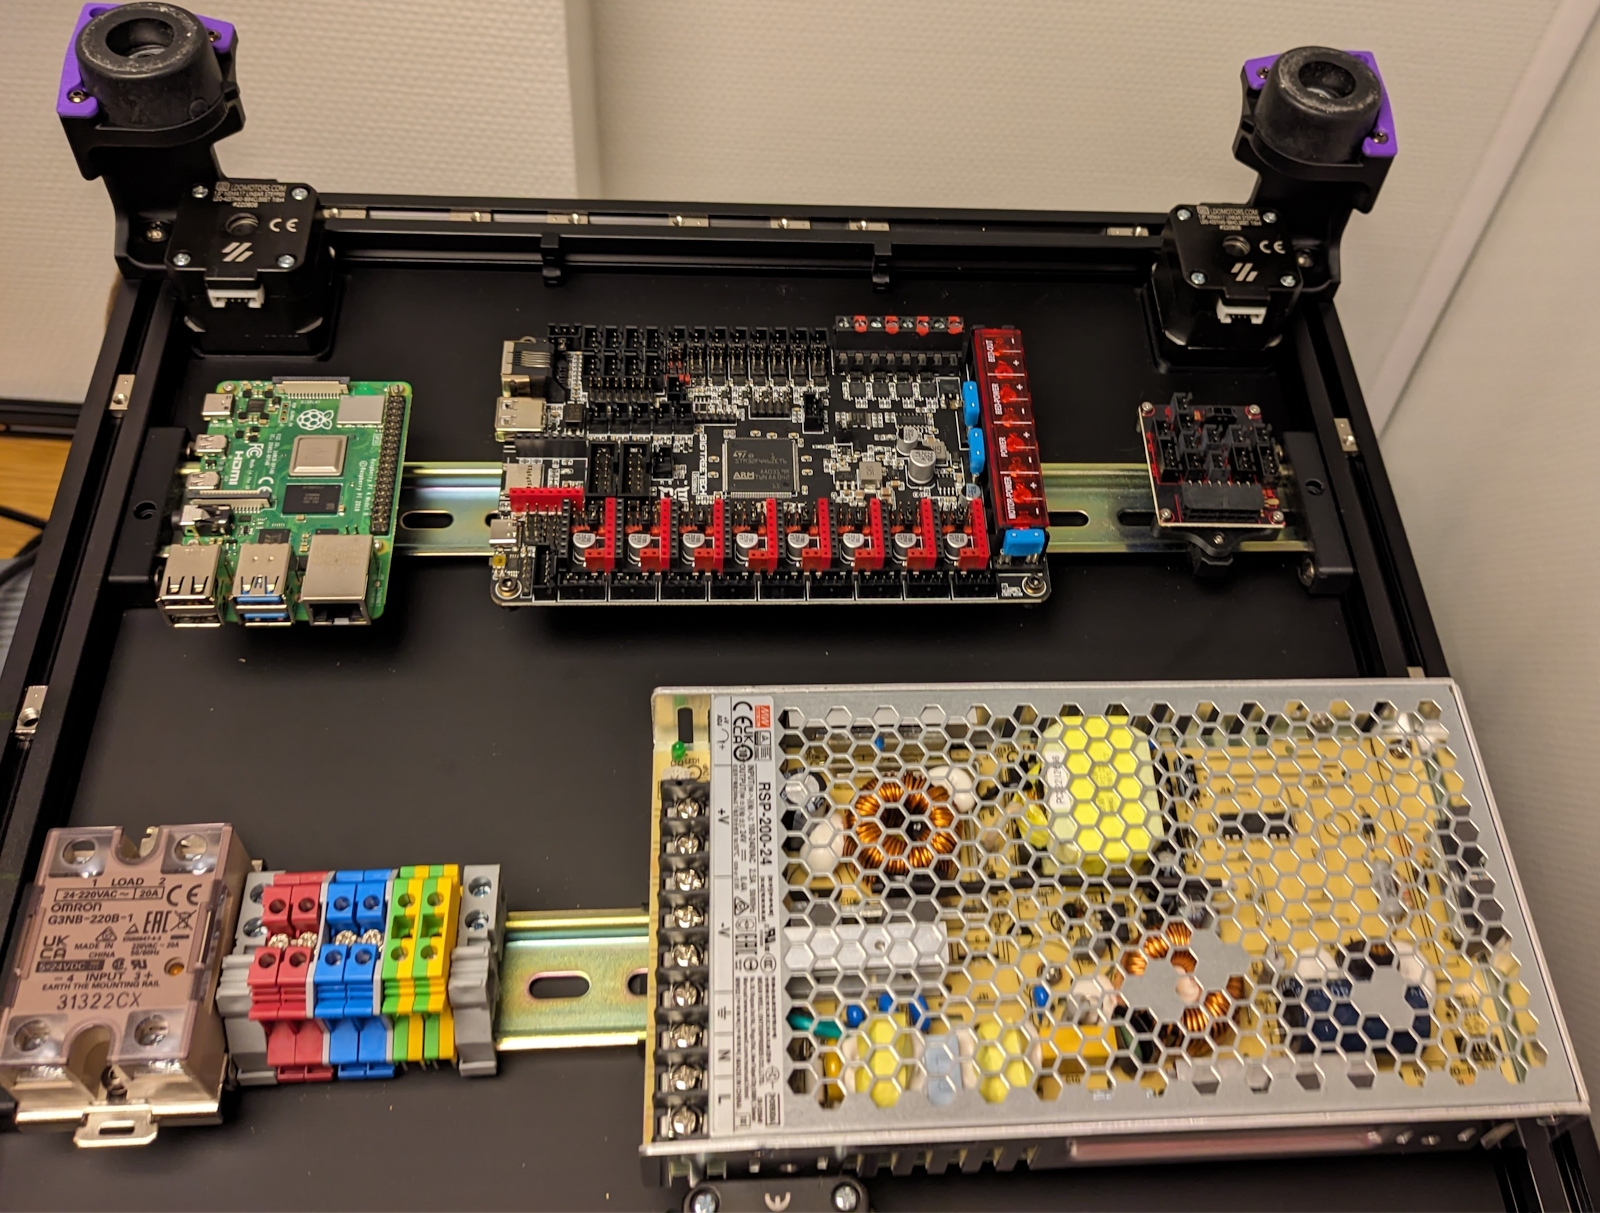
Again, laying out the components were no big deal. Embarrassingly, the most trouble I had was locating the microSD slot for the Raspberry Pi (it’s underneath).
Next up is the dreaded wiring.