Let's build a VORON Trident
Let's build a VORON: More mods ★
The printer is done, but I feel one of the best part of a VORON printer is the ability to modify and personalize it. There a tons of mods you can do, and while I’ve done a few there are lots more that I’d like to do some day.
It’s a wonderful feeling to augment the printer with parts made by the printer itself.
Contents
RockNRoll
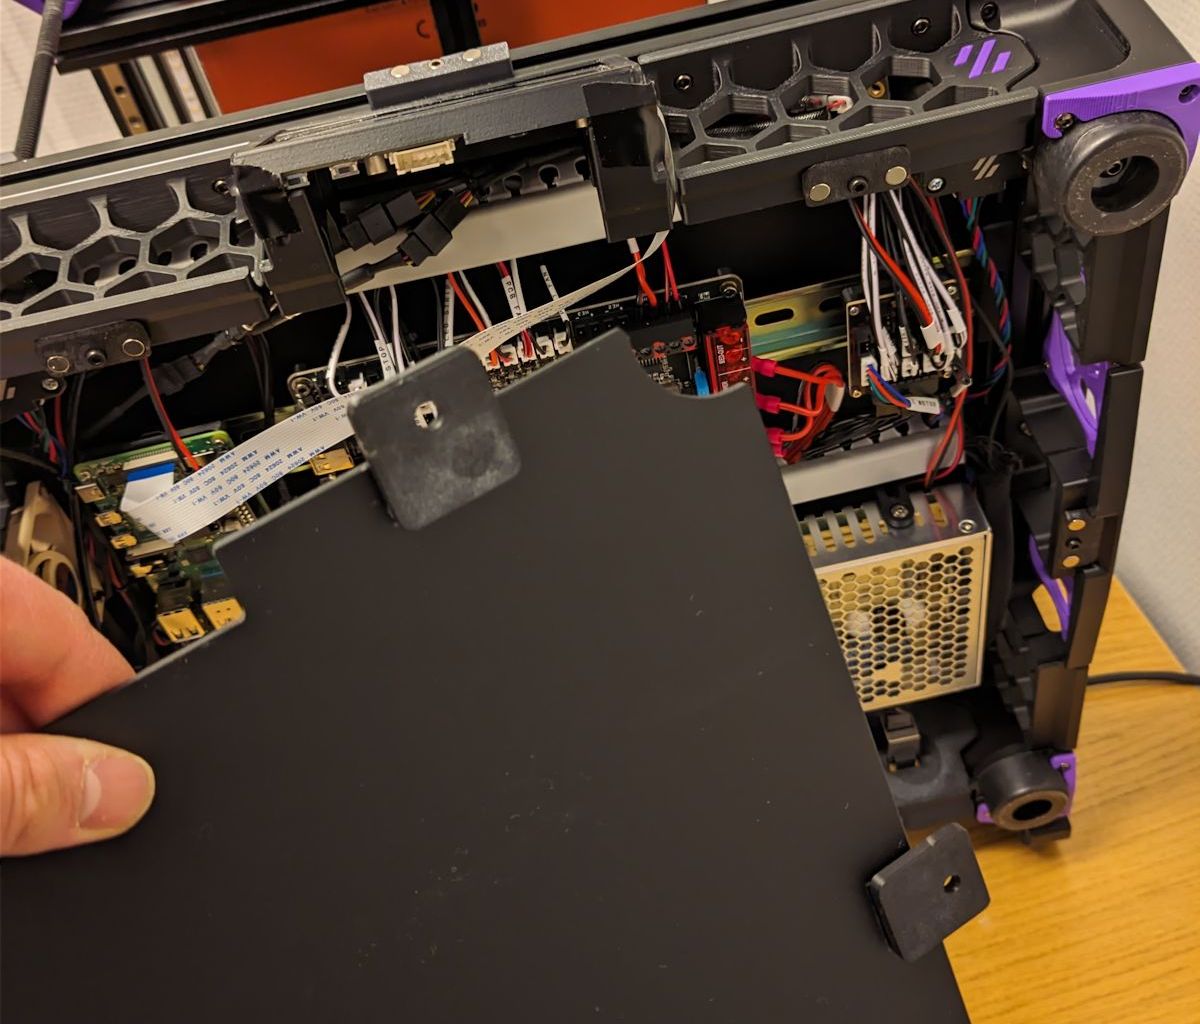
Flipping over the printer to access the electronics apartment is a huge pain. There’s a very cool inverted electronics bay mod for Trident printers, but it’s a tall ask for me to redo all the wiring at this point.
But then I found the simple RockNRoll mod that allows you to easily tilt the printer. Just having the rockers doesn’t work as the center of gravity is too high for the Trident, but with these additional stilts it works great.
Removable panels
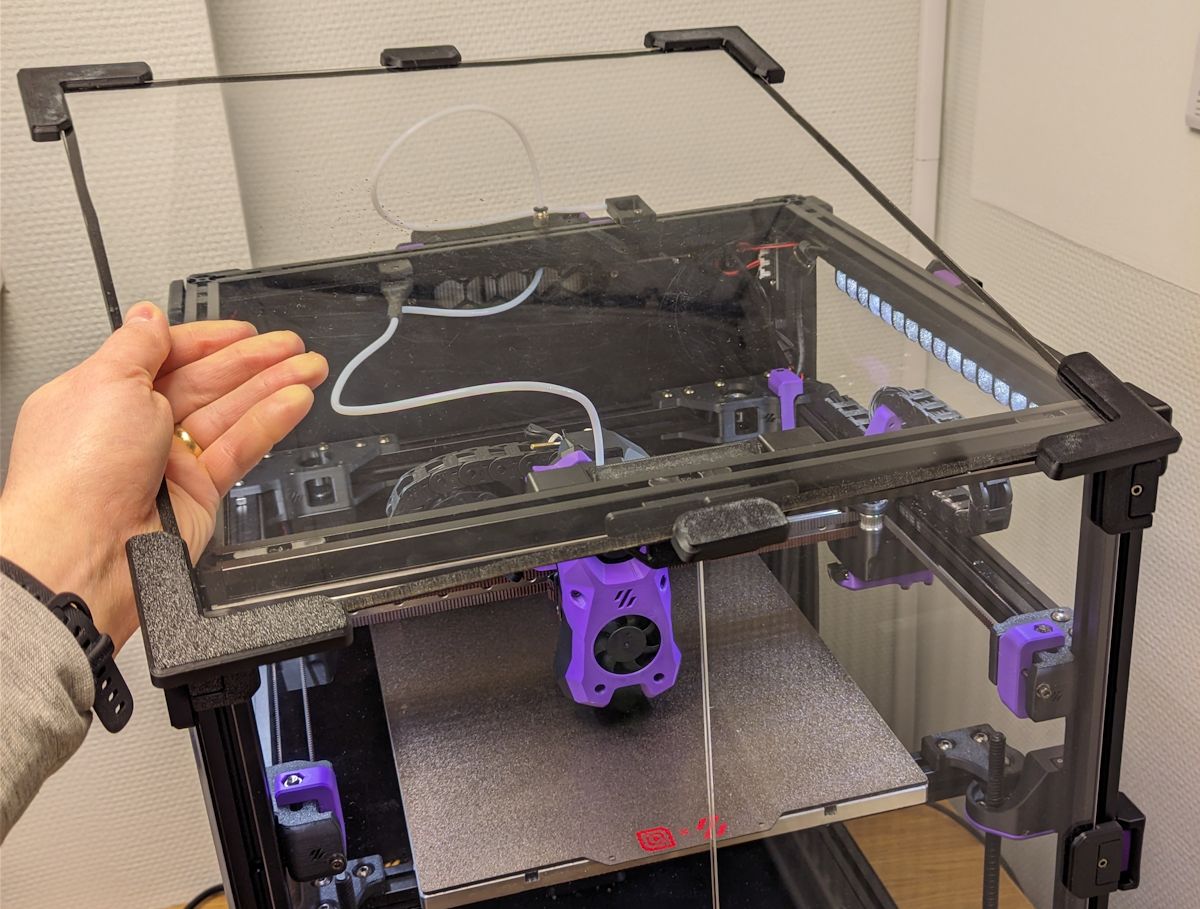
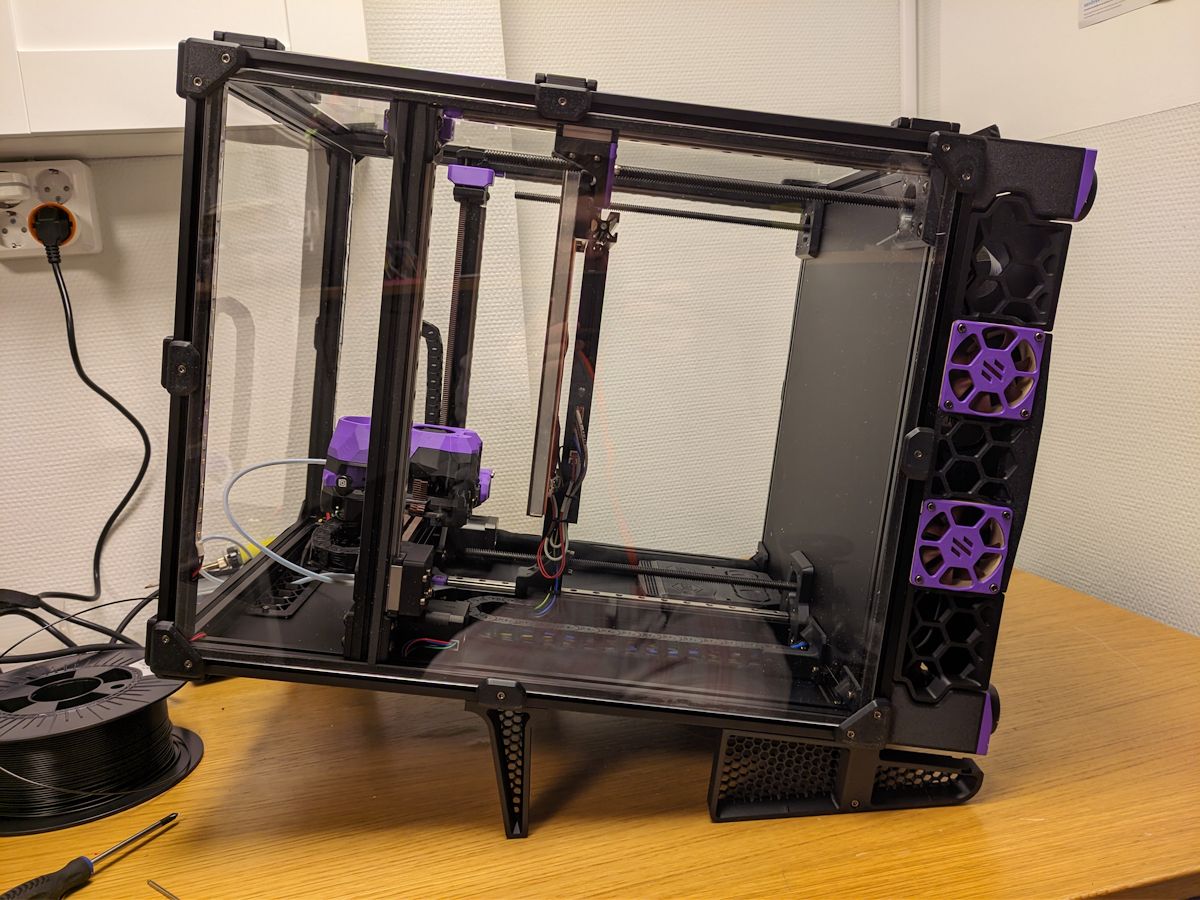
Having to screw and unscrew the panels when modding or messing around with the toolhead got old fast. Therefore I made the panels easily removable by using magnets and snap latches.
The top is completely magnetic using the Magnetic panels with Magnet Inserts mod and is very easy to remove and replace.
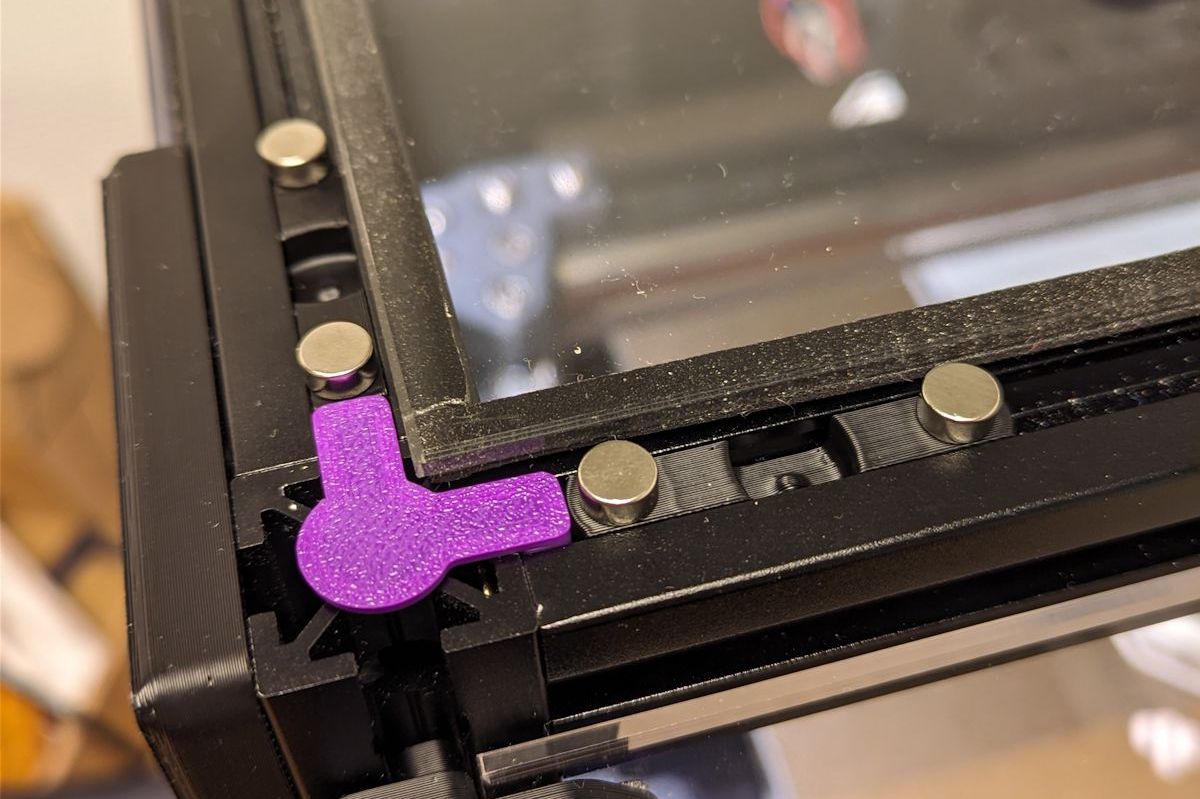
I played around with the amazing snap latches mod to hold the panels together:
But they’re a bit cumbersome to lock and unlock, so I compromised and used the latches in the middle of the side panels and used magnets for the corners:

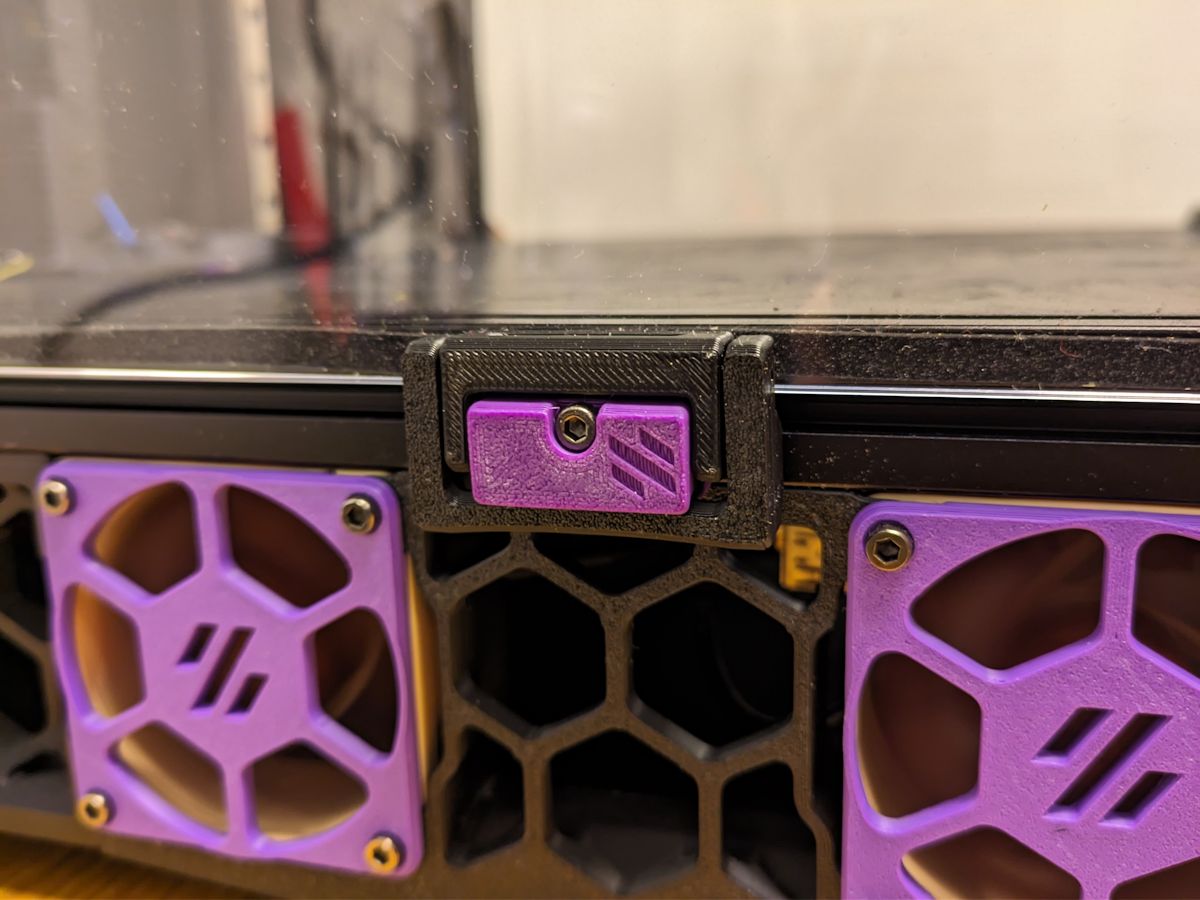
I also made the bottom panel magnetic using the bottom panel mag clip mod:
Necessary? No—but it feels nice.
Clicky-clack door
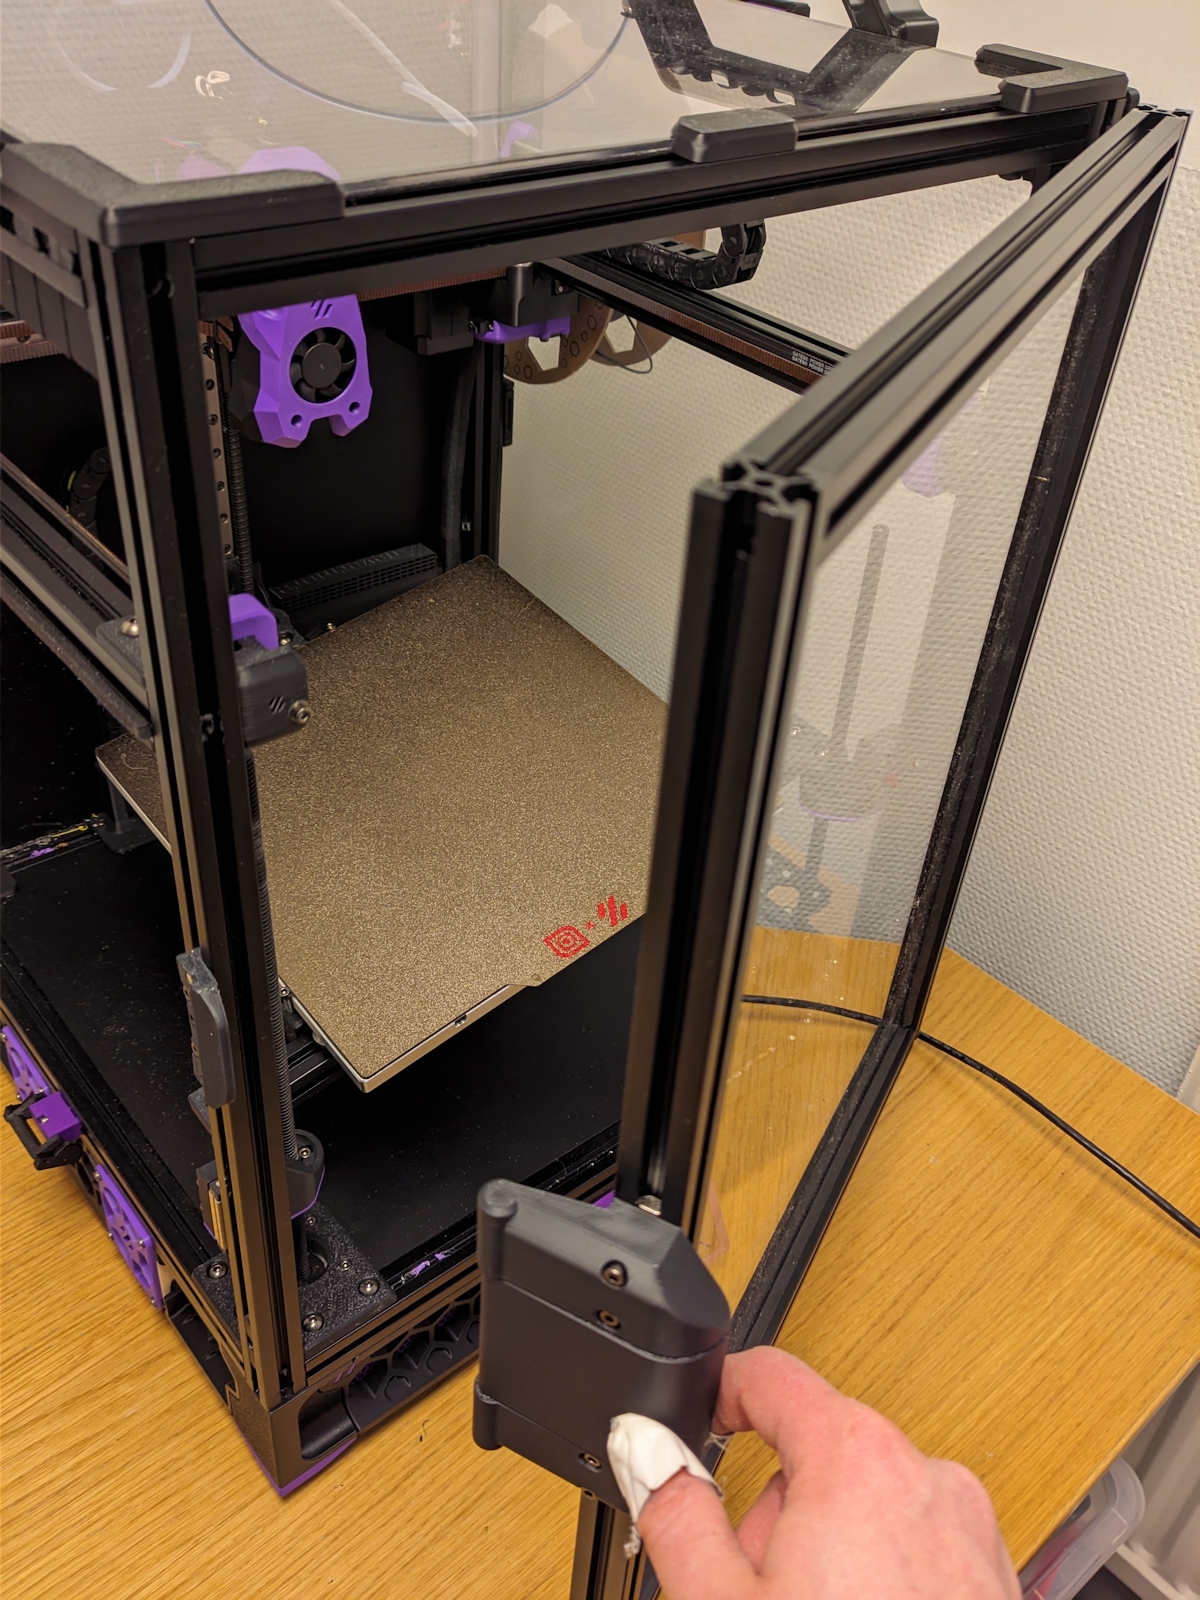
I really didn’t like the stock doors on the printer. I was planning to use the same magnetic and/or latch system for the front door, but I realized it would be very bothersome compared to a door you can swing open.
Luckily I found the Clicky-Clack Fridge Door mod that replaces the split panels with a full panel door and that can swing open, provides a better seal than the stock doors, and can easily be removed. It may not win any beauty awards, but it sure is functional.
Angry cam
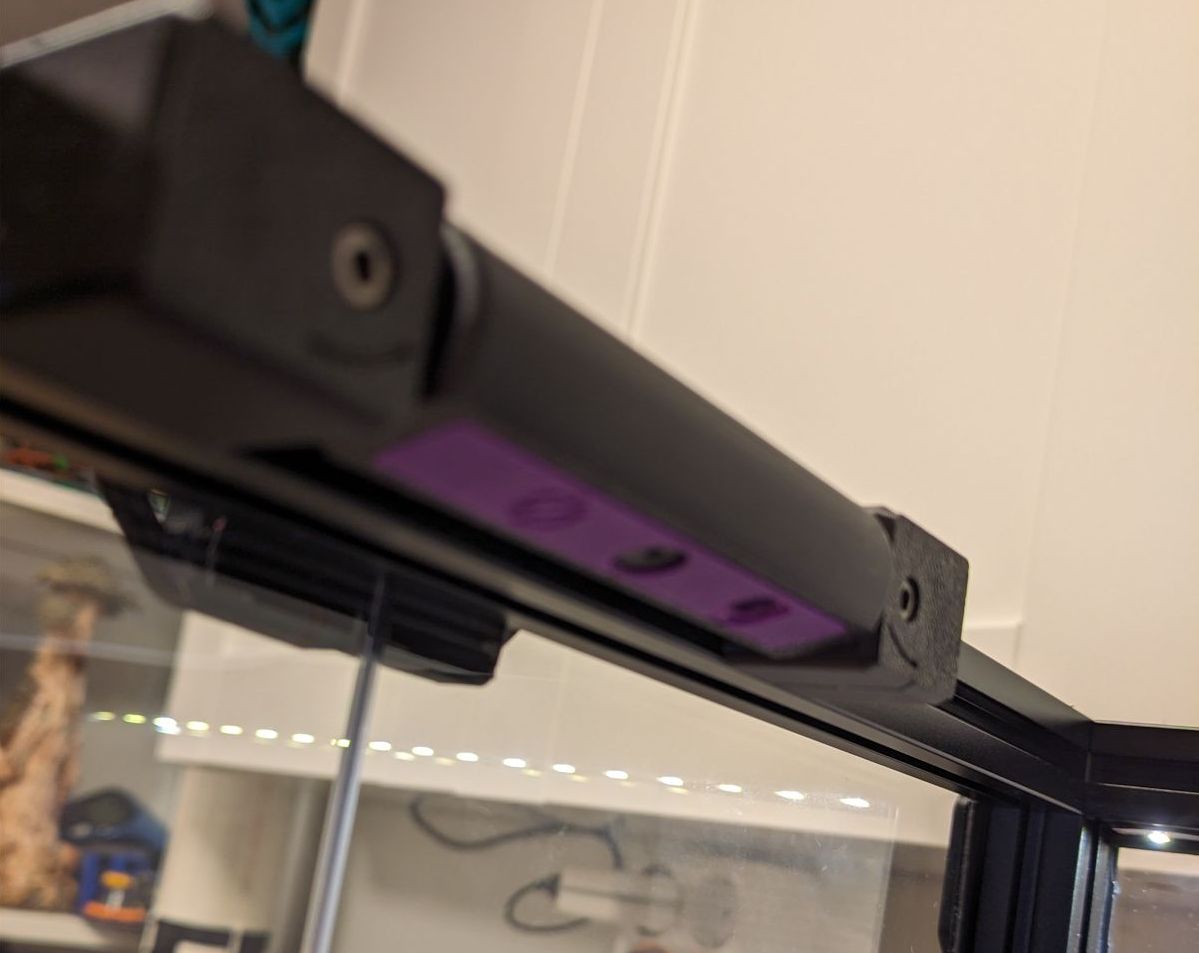
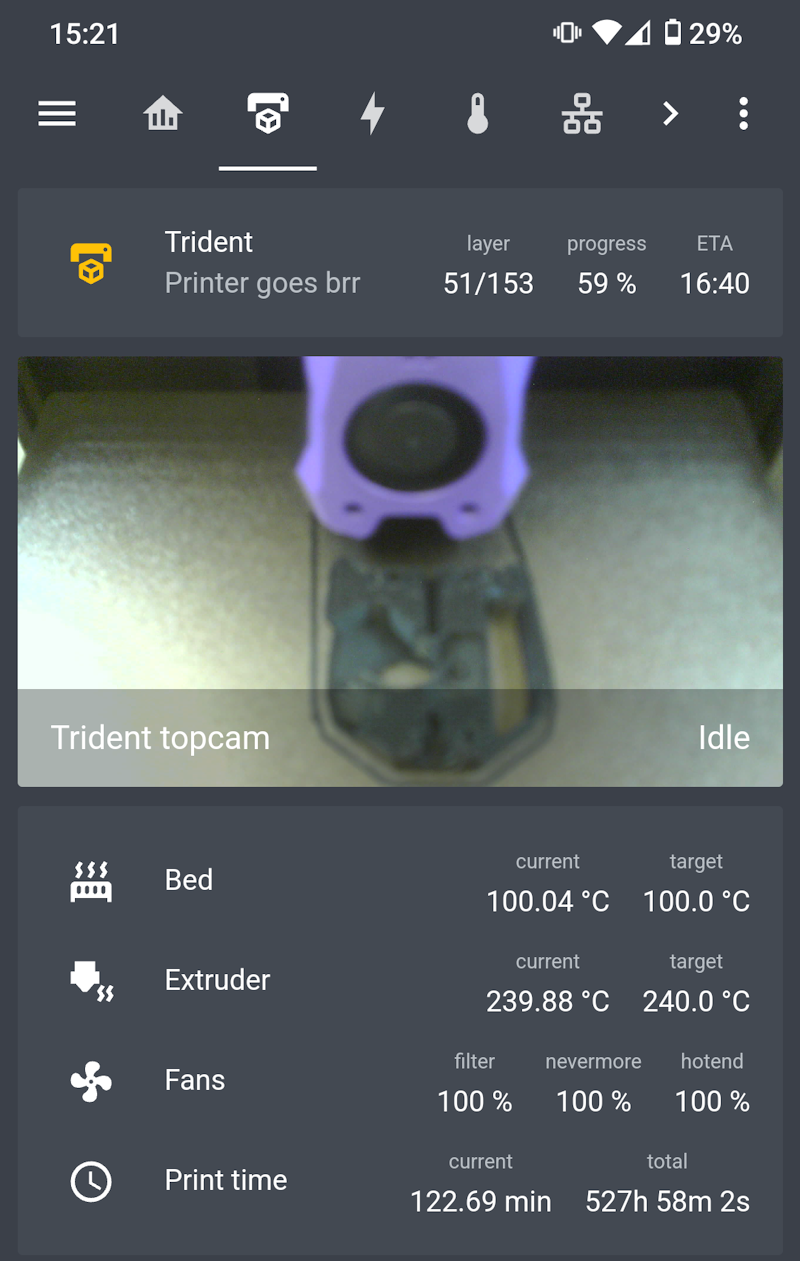
The mod I most appreciate is probably having an integrated camera. It’s great to be able to just glance at my phone to see how the print is going, instead of having to go down to the basement to check.
I used the Angry CAM USB mod to mount a small camera module in the front of the printer, above the doors.
The camera itself showed up in Mainsail and to my relief it worked immediately.
To configure resolution you can alter crowsnest.conf like so:
[cam 1]
mode: ustreamer                         # ustreamer - Provides mjpg and snapshots. (All devices)
resolution: 2592x1944                   # widthxheight format
max_fps: 15                             # If Hardware Supports this it will be forced, otherwise ignored/coerced.
To see what resolution and fps the camera supports, you can take a look in ~/printer_data/logs/crowsnest.log.
I used the MJPEG IP Camera integration to get the feed into Home Assistant, using http://192.168.1.32/webcam/?action=stream as the URL and made a quick dashboard for the printer:
I should probably rework this and all other Home Assistant dashboards one day…
The mount works well, but the camera is far from perfect. It’s good enough for checking in on the print, but a more clear view would’ve been nice. The focus isn’t working well, the colors are off, and I don’t see the whole build plate. Worse, the toolhead often covers up the print so I can’t see if it’s still printing well.
I won’t do anything about it right now, but in the future I’ll probably try to replace it with something else.
Smart filament sensor
Bed adhesion and first layer problems are annoying, but they can be mitigated by watching the first layer go down and if it goes badly you don’t lose that much time.
Something much more annoying is when the filament tangles. According to the internet it “should never happen”, but it has happened with four different spools from different manufacturers and it sucks when the print fails multiple hours in.
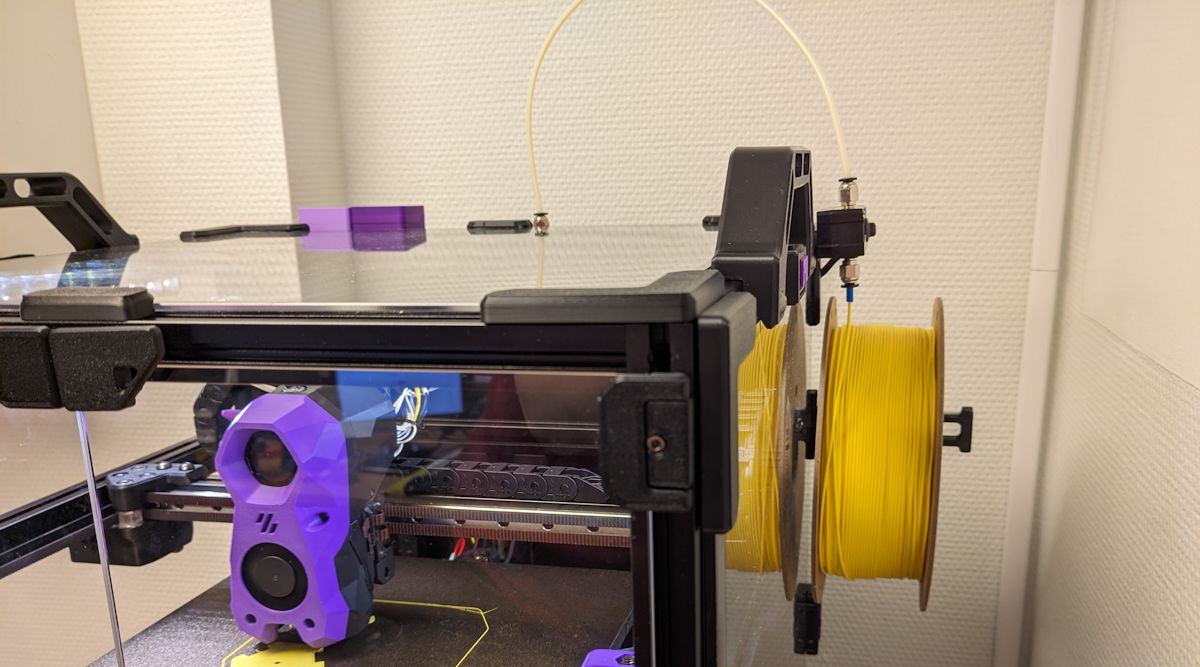
Fed up, I ordered Bigtreetech’s Smart Filament Sensor V2.0 that can detect both running out of filament and these “knotted” spools.
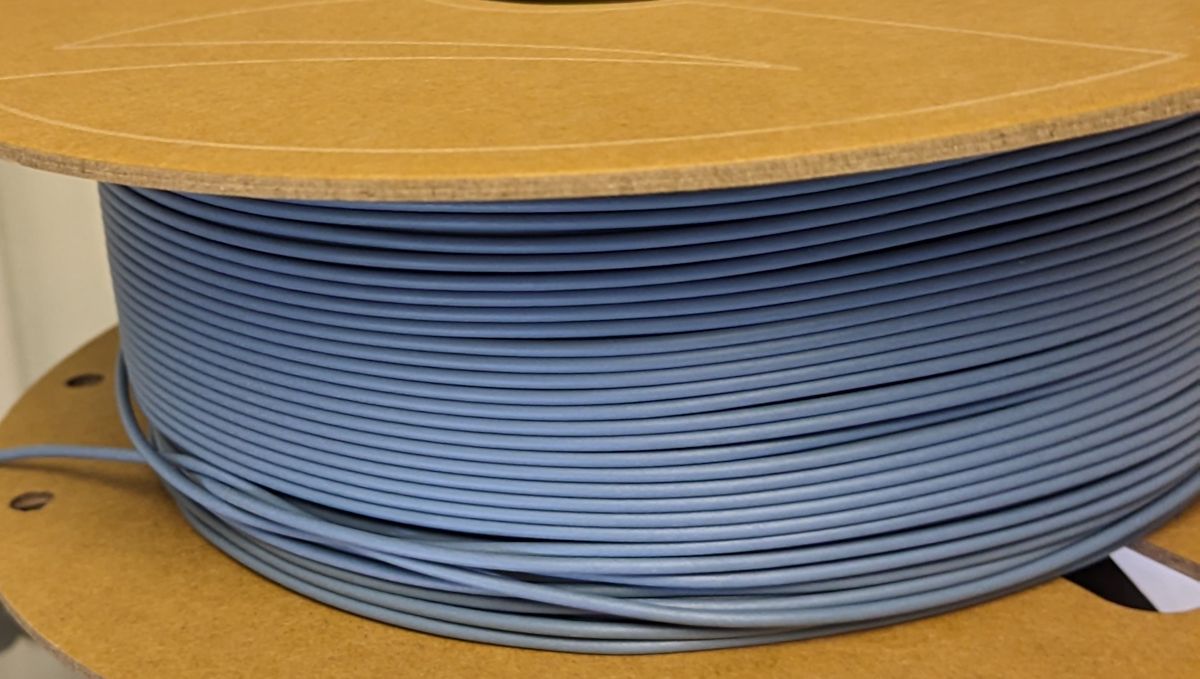
There are some nice mounts for it, but finding a good mounting point was difficult. I ended up moving the spool to the side of the printer, and routing the cable through the back panel:
One difficulty was that the wire was just a tad too short. I got it to reach, but just barely. I couldn’t route the cables to make the underside pretty… But meh.
To setup Klipper I used this code:
[filament_switch_sensor filament_sensor_switch]
switch_pin: ^PG12
pause_on_runout: True
insert_gcode:
    M117 Insert detected
runout_gcode:
    M117 Runout detected
    SET_DISPLAY_TEXT MSG="Runout detected!"

[filament_motion_sensor filament_sensor_motion]
switch_pin: ^PG13
detection_length: 10 # ellis recommends to start at 10mm, could maybe adjust this?
extruder: extruder
pause_on_runout: True
insert_gcode:
    M117 Insert detected
runout_gcode:
    M117 Runout detected
    SET_DISPLAY_TEXT MSG="Runout detected!"
You also need proper PAUSE/RESUME macros.
I just copied the macros from Ellis’ print tuning guide.
I tested it by holding the filament during the print, trying to simulate a knot in the filament. This worked, but damn was it HARD. The extruder really does have force behind it.
Since installing the sensor it has already saved multiple prints. For sure a huge quality-of-life improvement, and feels like a must-have.
Flex plate stops


Aligning the flex plate isn’t too much of a pain, but adding some flex plate stops makes the process easier.
To fit it at the back I removed the now unused z-endstop (I use Tap instead).
Gridfinity mounts
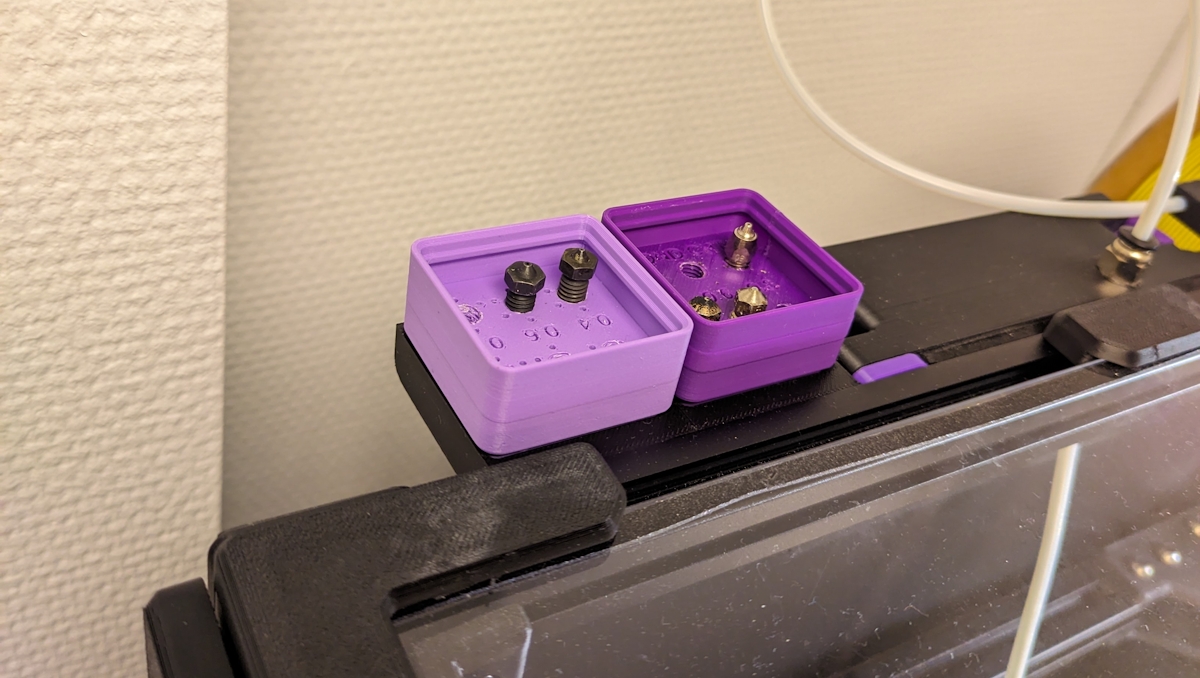

I’ve been slowly easing into Gridfinity—a free and open organization system. So naturally I wanted to add some some holders to the printer.
Meshed panels
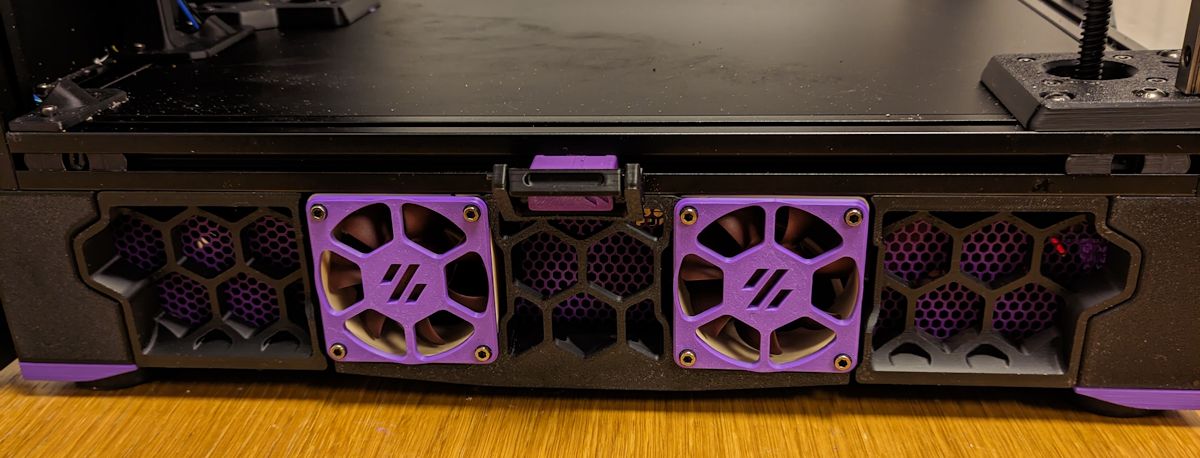
Adding meshes for the panels might be one of the prettiest mods you can do—and I think it’s very pretty—but that’s not why I did it. I added it as a safety measure against my kids (or me) inserting something like a screwdriver inside the electronics while the printer is running.
I didn’t do any fancy filament swapping prints, I just printed the meshes and glued them onto the backs of the panels. It works.
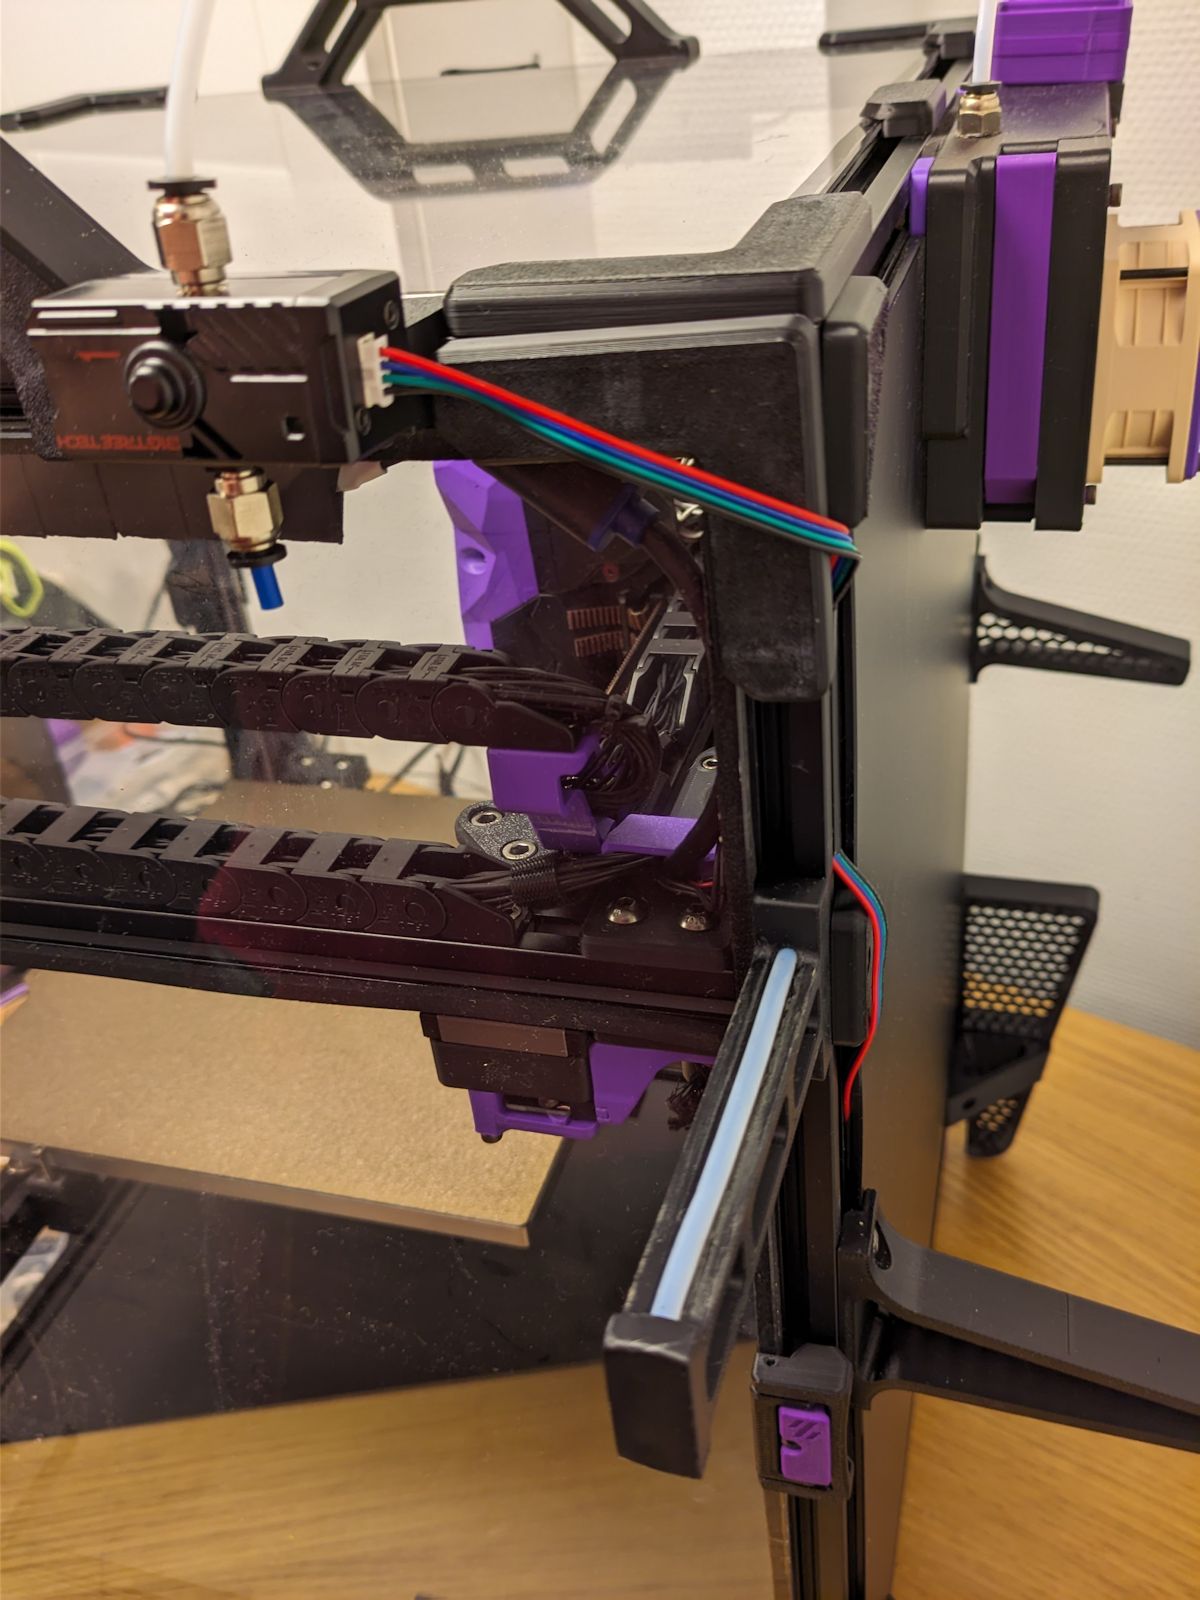
Galileo 2
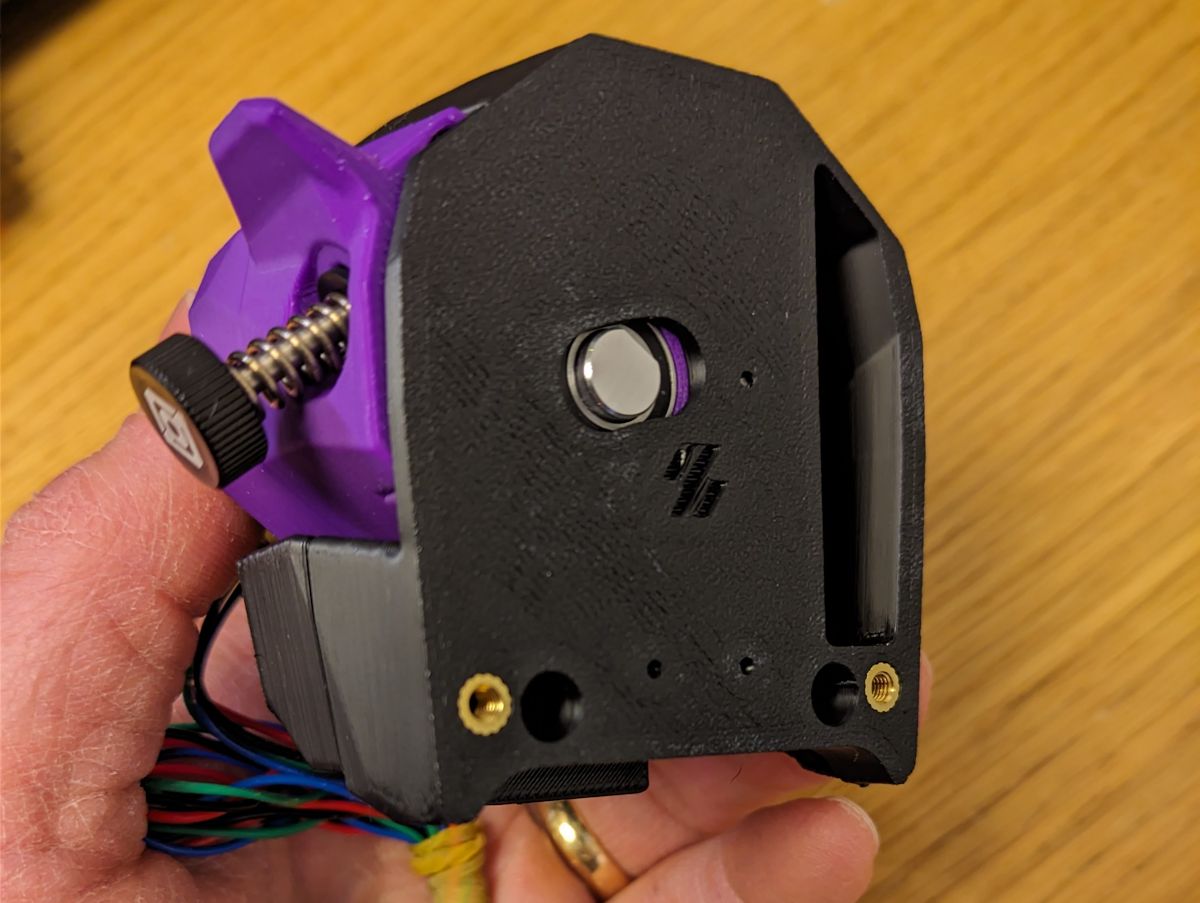
I replaced the Clockwork 2 extruder with the Galileo 2.
This wasn’t exactly needed, I just thought it would be fun as building the Clockwork was one of the most interesting parts of the build, and this planetary gears thing looked pretty interesting. And the FOMO kicked in as I was following the discussion online, with people hyping about it but not being able to find a kit. So when I happened to find one I couldn’t help myself.
I was planning to make a separate post only about the build, but the build was surprisingly very quick so I think it works if I include it in this blog post.

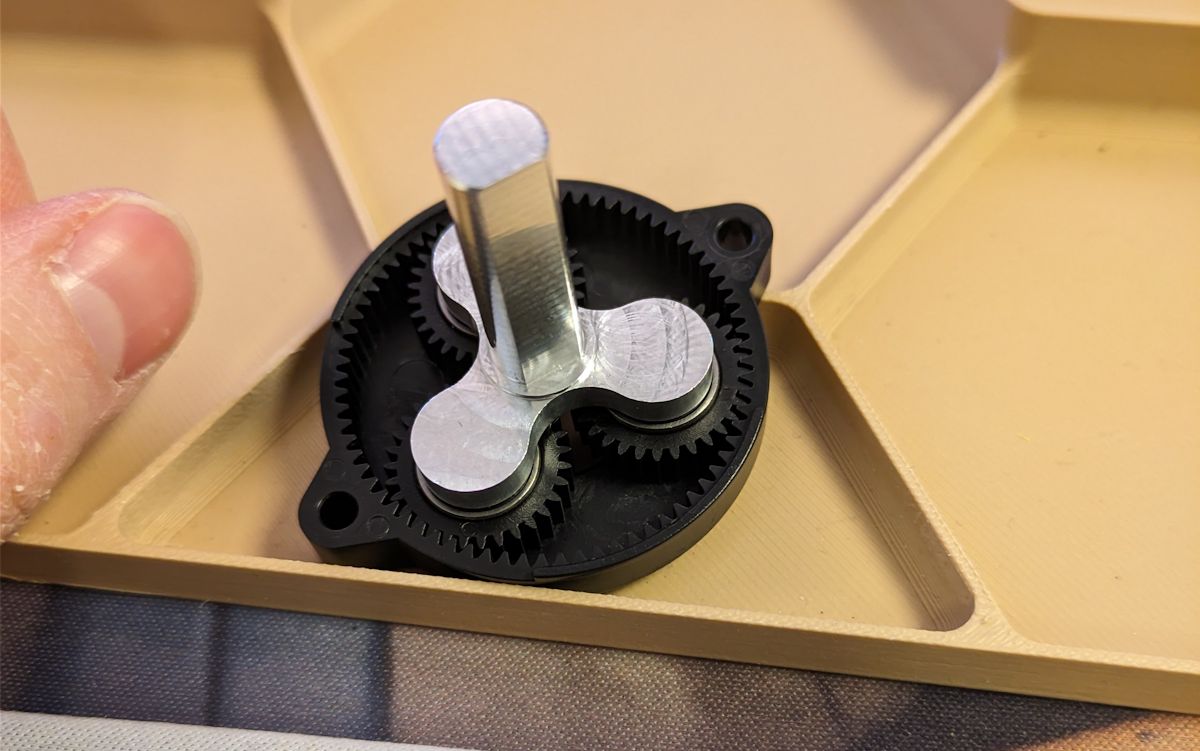
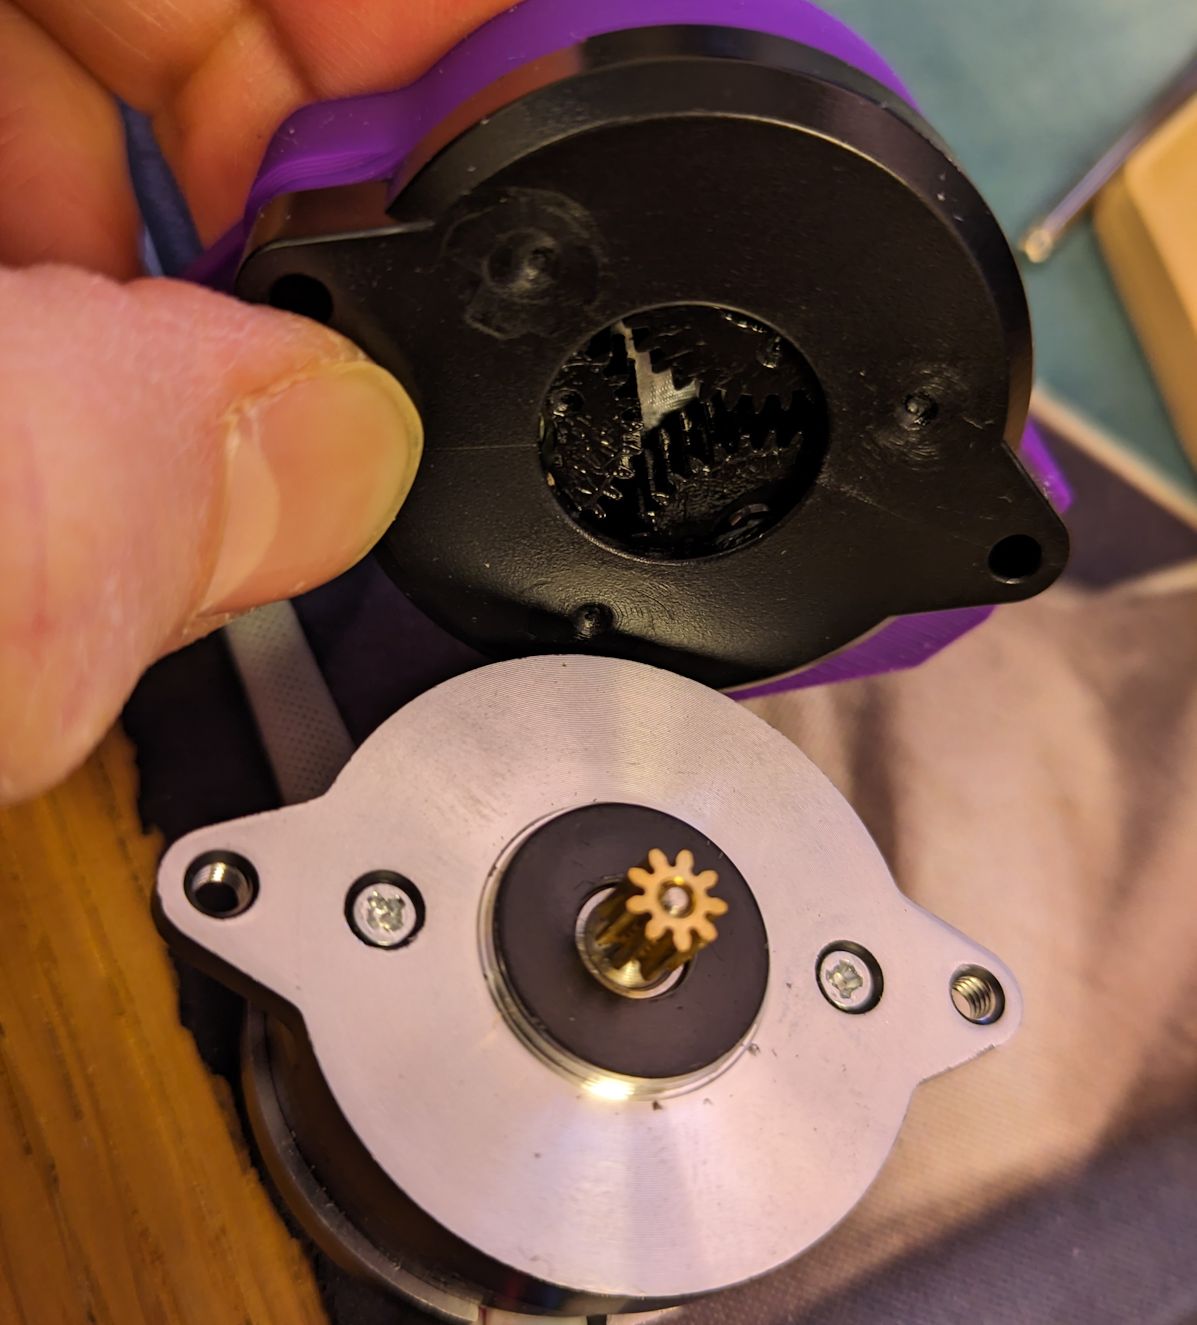
The only difficulty I encountered when assembling the extruder itself was to align the drive gear. It touched the printed part, and I was worried my prints came out all wrong. The manual says that you can push down the carrier shaft, but I had to disassemble it and realign it before attaching the motor. After the reassembly it luckily aligned properly.
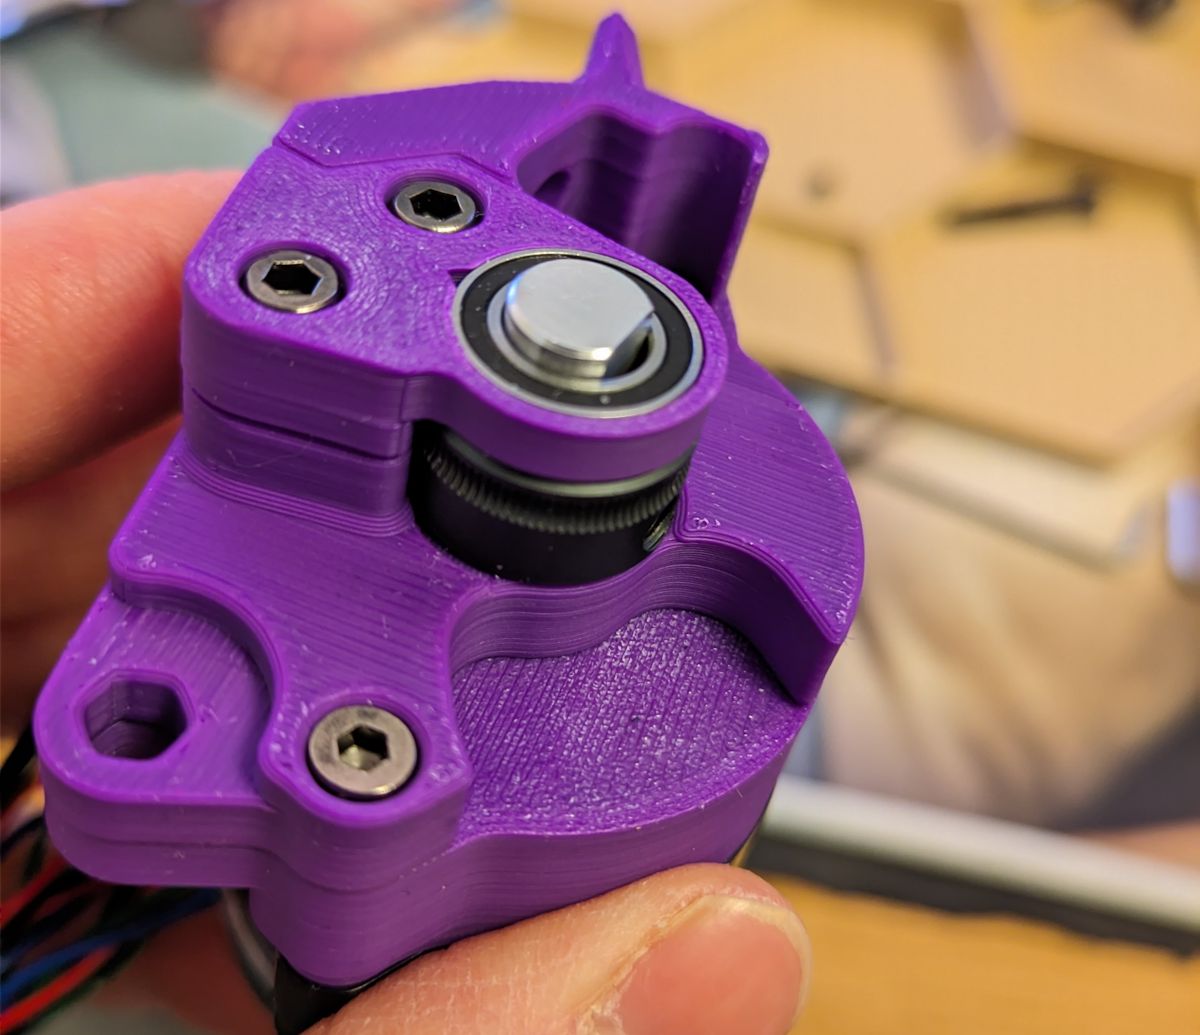
There were no issues mounting the extruder onto Tap or into the Stealthburner either. The LDO toolhead PCB fit without having to use spacers, although closing the lid was very tight.
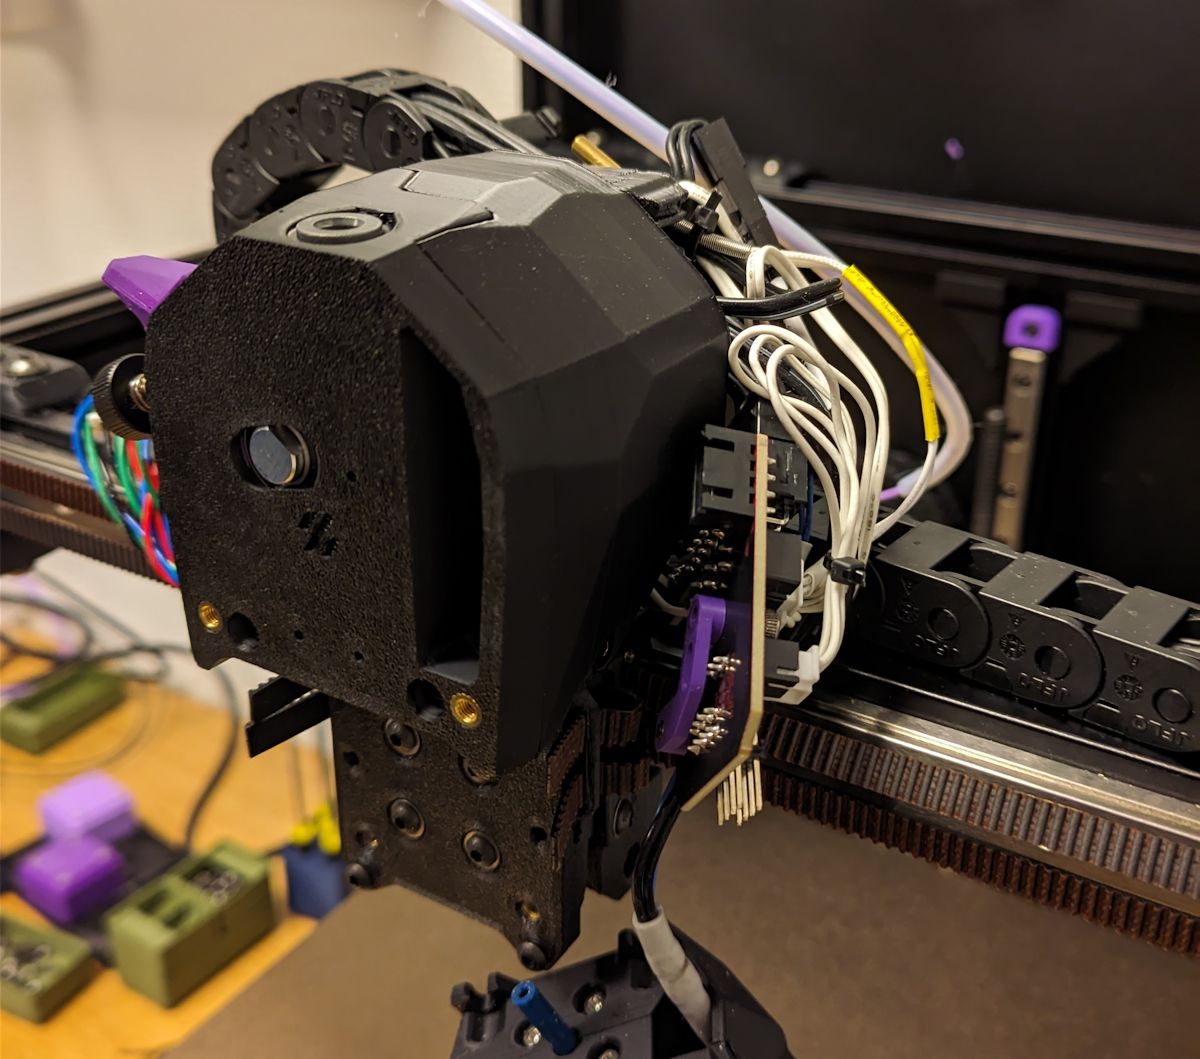
The biggest pain point was the wiring management (yet again). The drag chain mount on the Galileo 2 is higher up than on the Clockwork 2, which meant I had to pull through more wiring to be able reach the PCB.
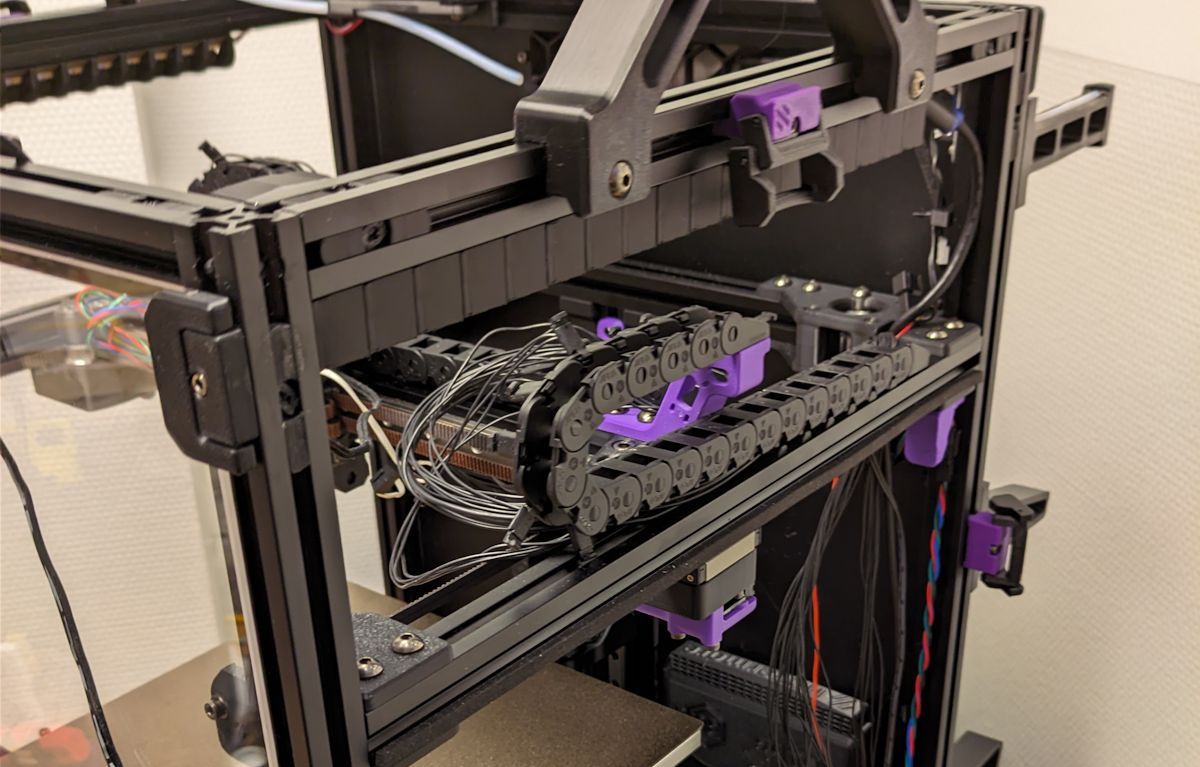
I really don’t enjoy opening up the drag chains, it’s just a huge pain. The next time I need to mess with it, I’ll probably go Canbus or Nitehawk and get rid of the annoying chains.
I’ve seen some people complaining that they’ve lost some y-travel, but I don’t understand why. For me the range has been unchanged.
The big question is, does it print better?
It’s a difficult question, because I don’t really know. Maybe it does, but I didn’t make any test prints to really compare. But it’s not an extreme improvement like some people online made me to believe. It’s more an incremental improvement, and the Clockwork 2 would honestly be good enough for me.
I do miss the latch of the Clockwork 2, but I don’t think I’ll switch back right now. Even small improvements to extrusion quality is nice.
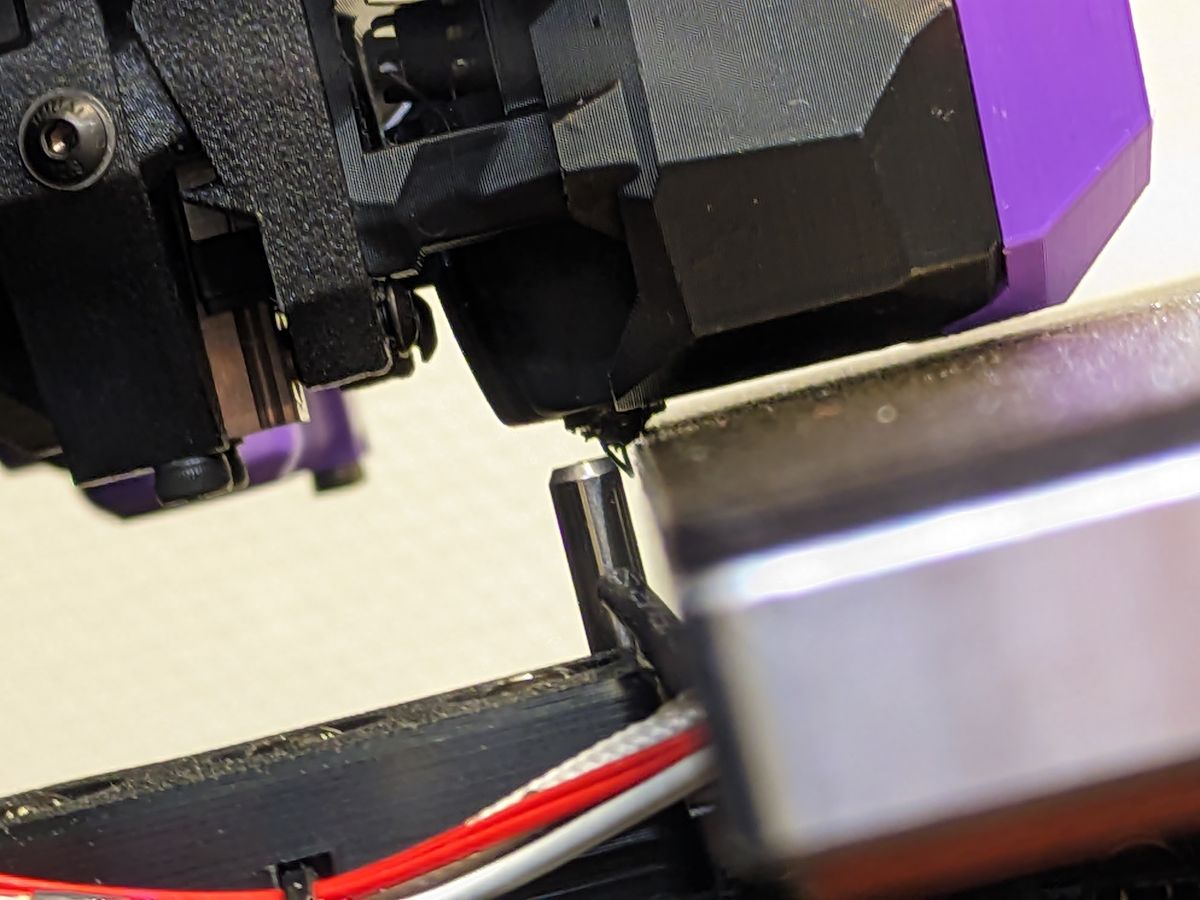
Purge bucket & CNC Tap
The kit comes with a steel brush and references the Decontaminator Purge Bucket & Nozzle Scrubber mod that I was quite excited for.
Unfortunately, Tap decreases the range of motion for the toolhead so that the nozzle no longer can reach back behind the bed:
There are some things I could do:
-
Ditch Tap and use Klicky probe instead.
-
Replace the printed Tap with a CNC Tap.
The Chaoticlab CNC Voron Tap v2 should save around 4mm in the y-axis while Vitalii’s version should save around 1.4mm.
-
Sensorless XY homing might also give back some range.
-
Moving the bed is a theoretical solution, but that seems difficult to me.
I bought a Chaoticlab CNC Voron Tap, but had I known about the sensorless homing I might have tried that out first.
Installation was straightforward, I just had to be mindful of these things:
-
Grease the rails.
-
Apply threadlocker to the screws.
-
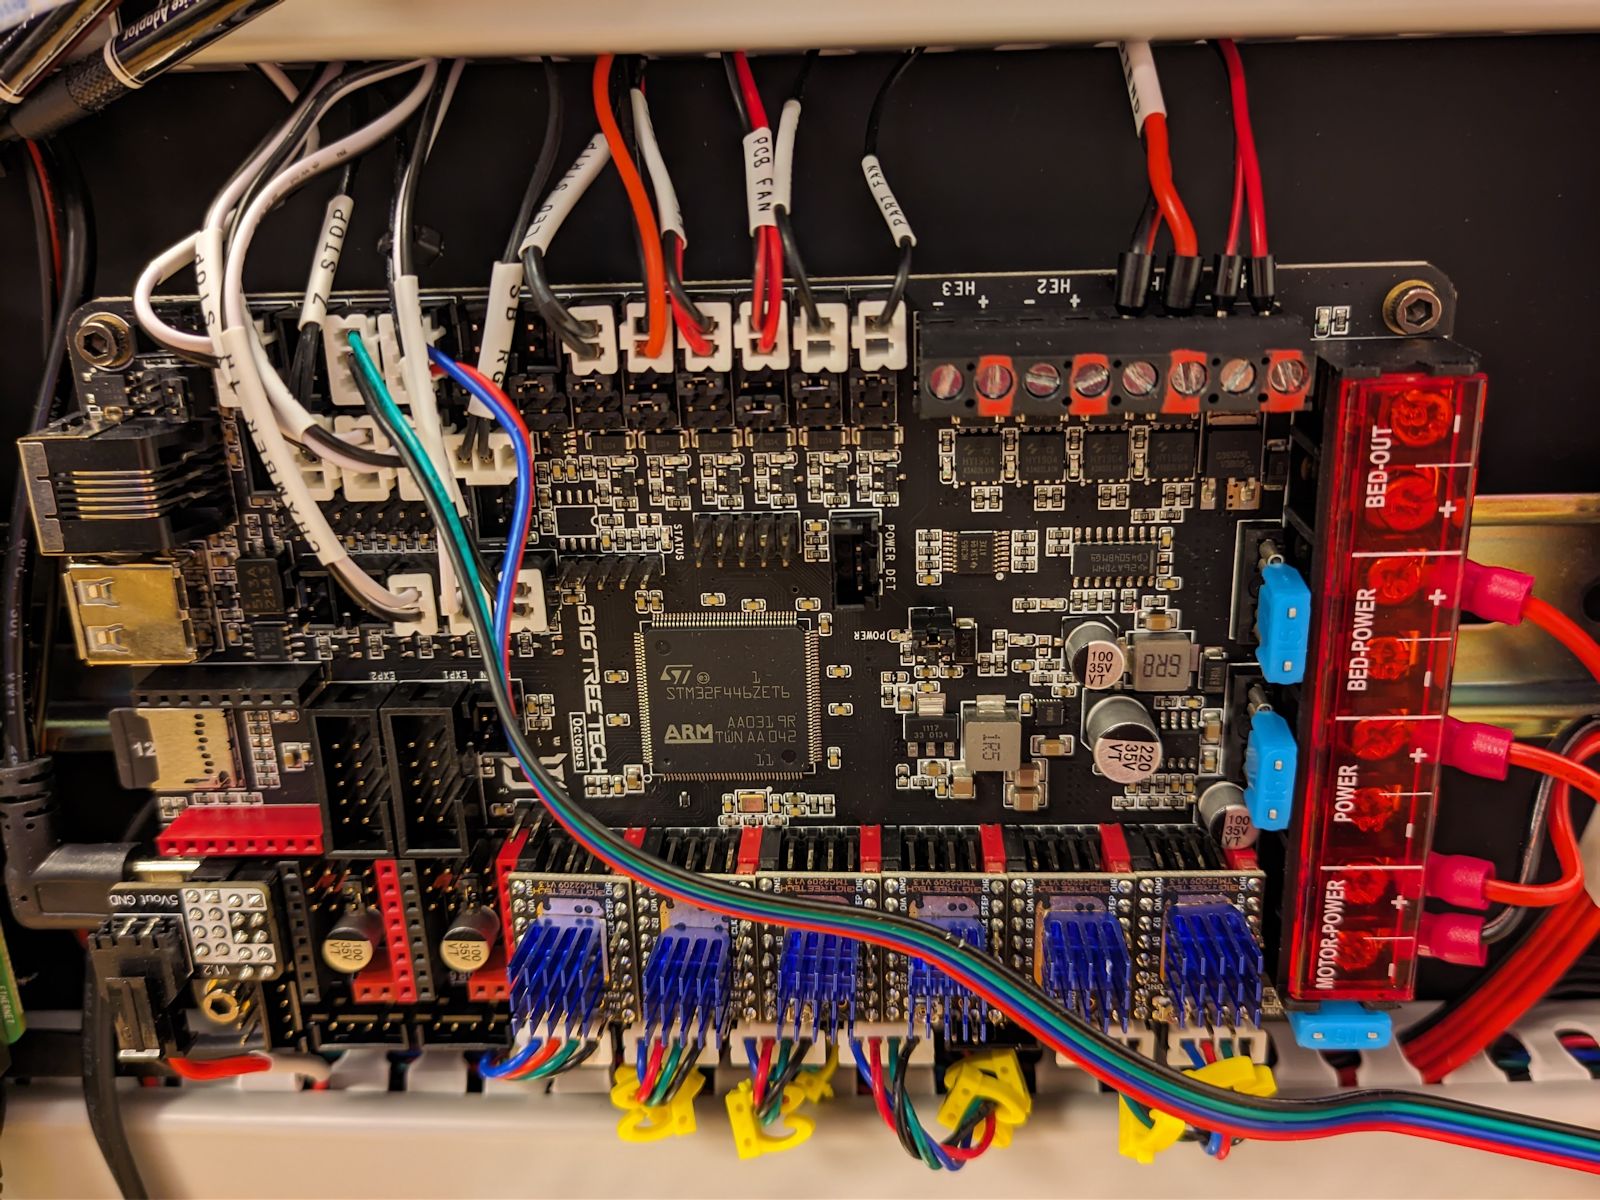
I had to switch the wiring in the Tap–PCB cable.
-
Use
~!PG15instead of^PG15in the probe config.
But—and here’s the big but—it’s not compatible with LDO’s X/Y Endstop PCB board:

To make this work I’ll have to add an X Endstop to the toolhead (there’s a dedicated mount for it), which is fine. There’s a X Endstop connector in the toolhead PCB… But I don’t see how to get that signal out from LDO’s breakout board in the electronics compartment (it takes it from the X/Y Endstop PCB).
That feels like a lot of effort… And I told myself I would not drag more wires through the drag chain, so I gave up on the mod for now. I’ll revisit this when I move to an umbilical setup, where I plan to move the X and Y endstops anyway to get rid of the drag chains.
But that’s a larger project for the future, at the moment I’m content.
Back in no time.